Connect your form to Mailchimp

Add and update new and existing Mailchimp contacts from a Fillout form to grow your newsletter audience. Set audience fields and add tags to contacts based on conditions in your form.

What Mailchimp is

Mailchimp is an all-in-one marketing platform that helps businesses and individuals design, create, and manage email campaigns, build landing pages, automate marketing processes, and analyze audience engagement to reach their marketing goals effectively.

Video tutorial

How it works

1. Link your Fillout form to Mailchimp

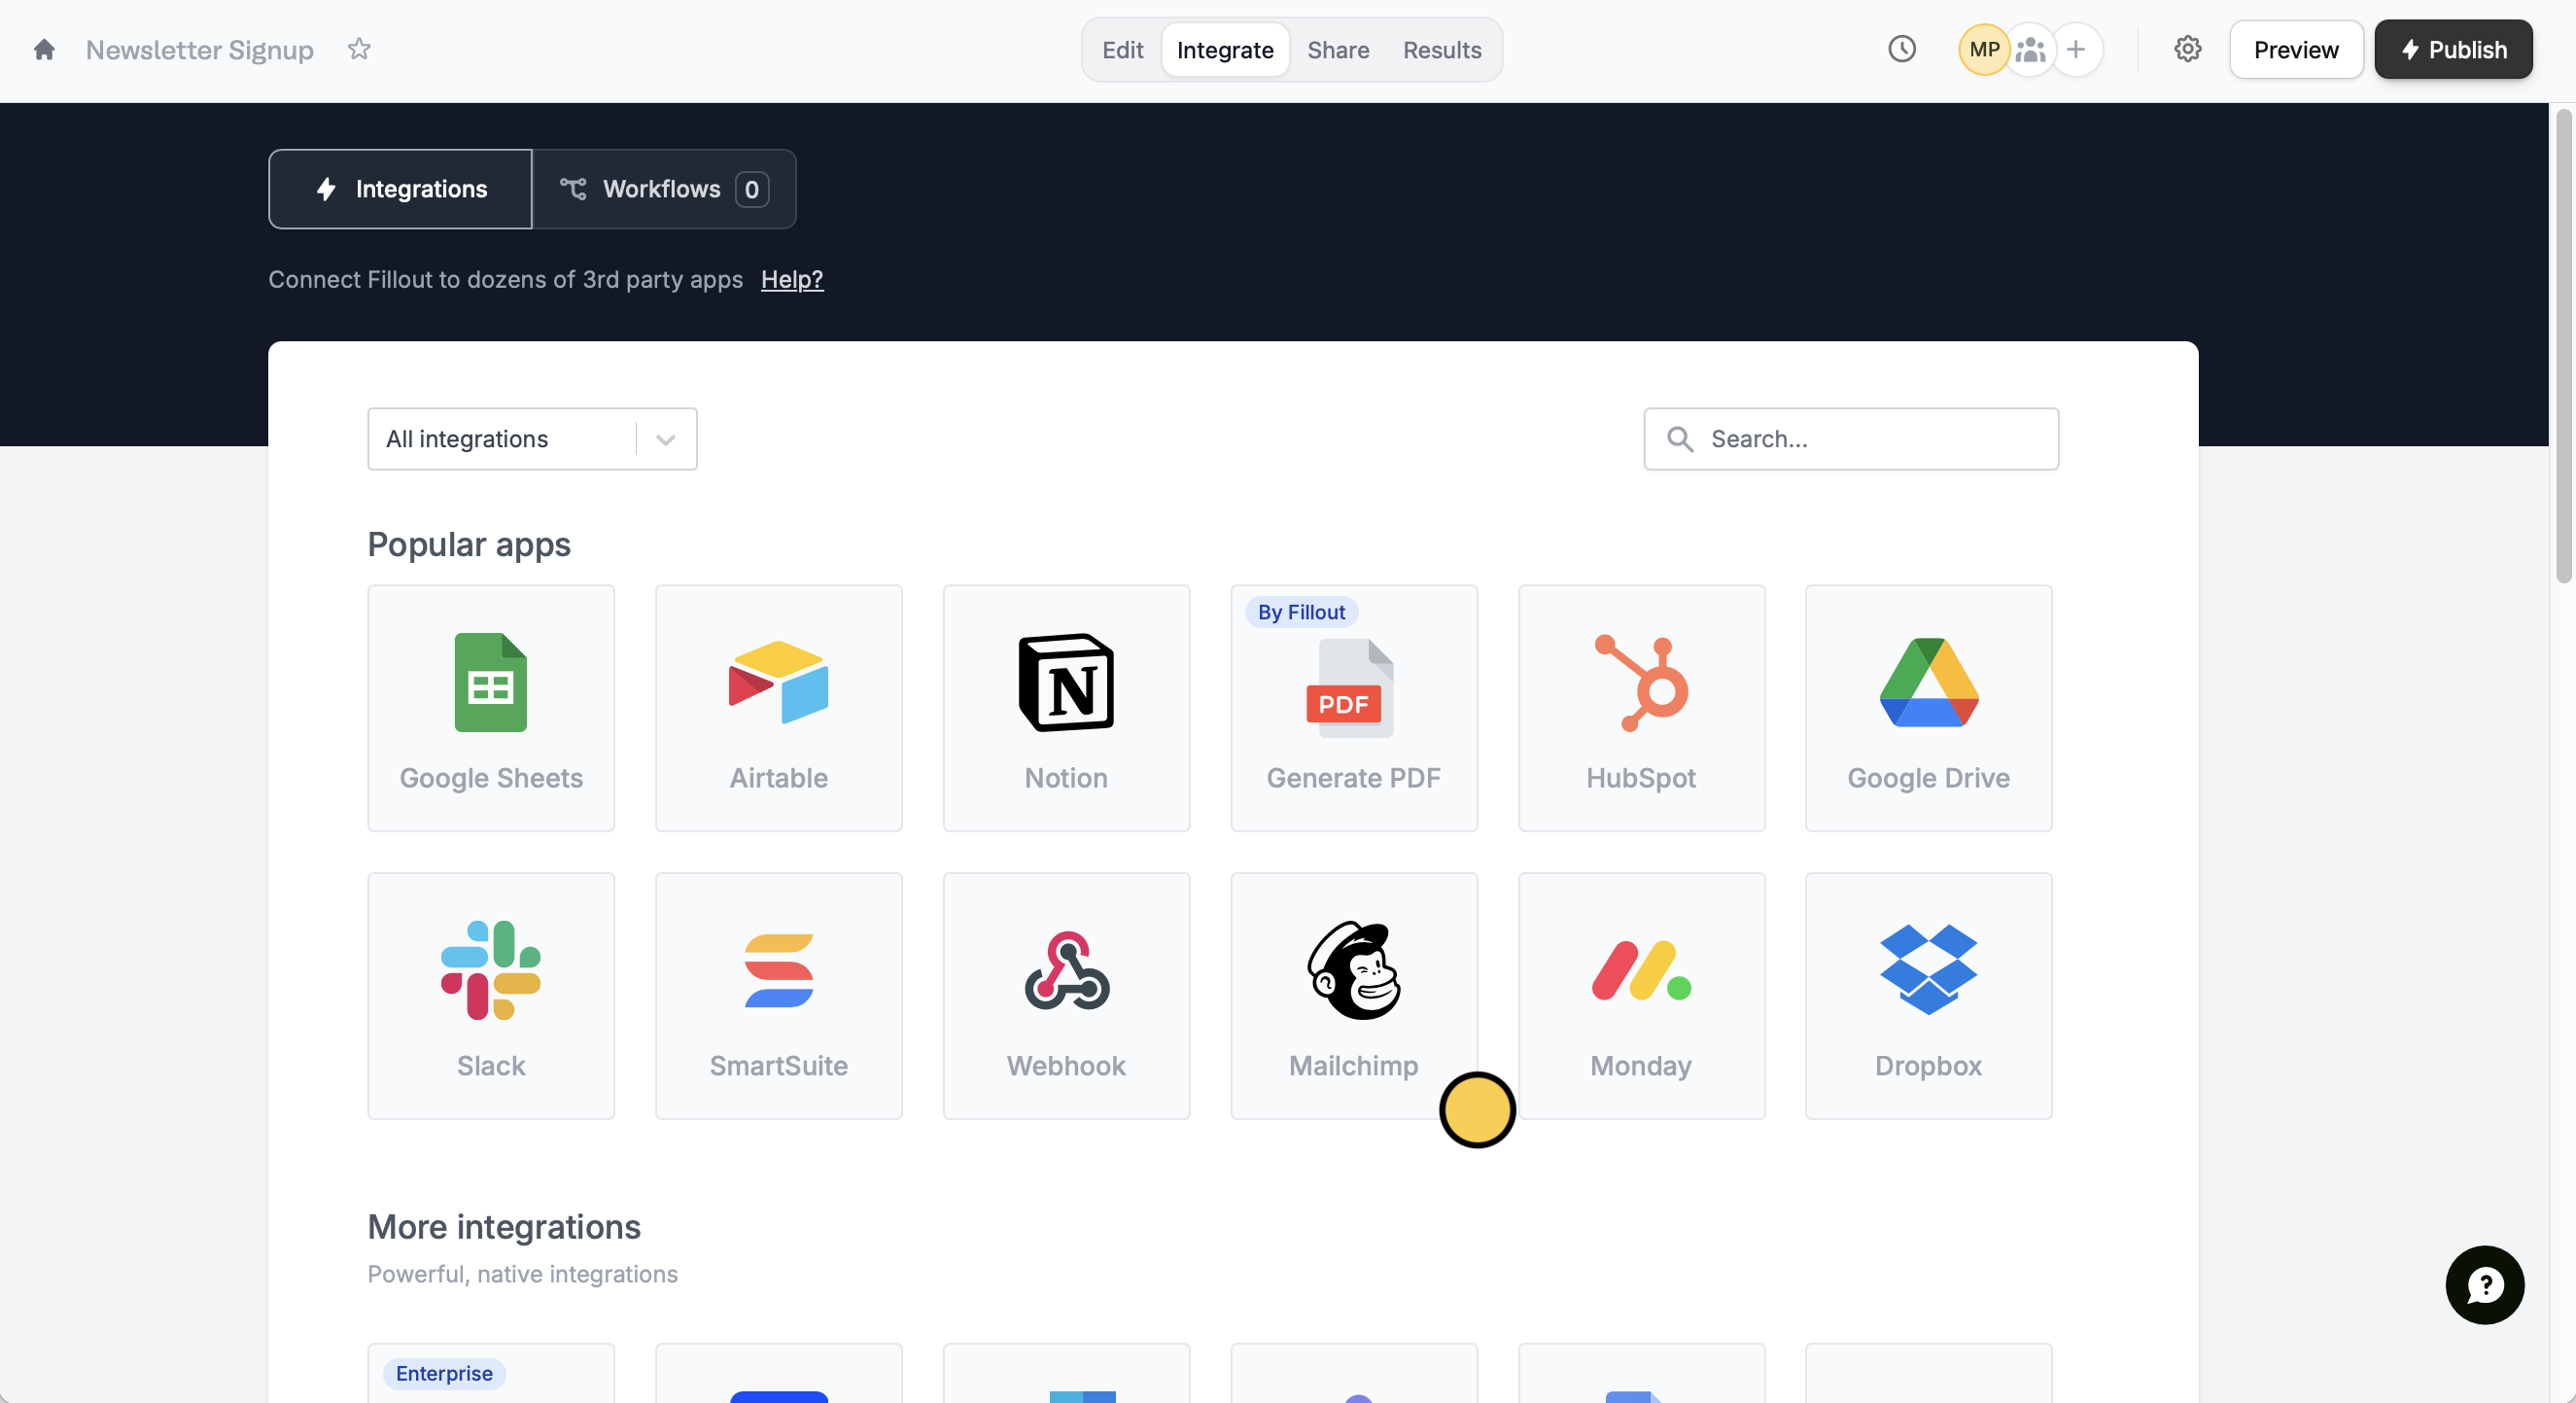
Open the form you want to integrate with Mailchimp, then go to Integrations. Click Mailchimp to link your Fillout account.
notion image
ย 
๐Ÿ“
Note: When creating your form, make sure to set the email, name, and other fields you would like to link to your Mailchimp mailing list to required.
ย 
Enter any name for the connection, and your log-in details in the pop-up window that appears, then click Allow .
ย 
Choose which audience you would like to create or update contacts in, then click Continue.
notion image
ย 

2. Map your form fields on Fillout

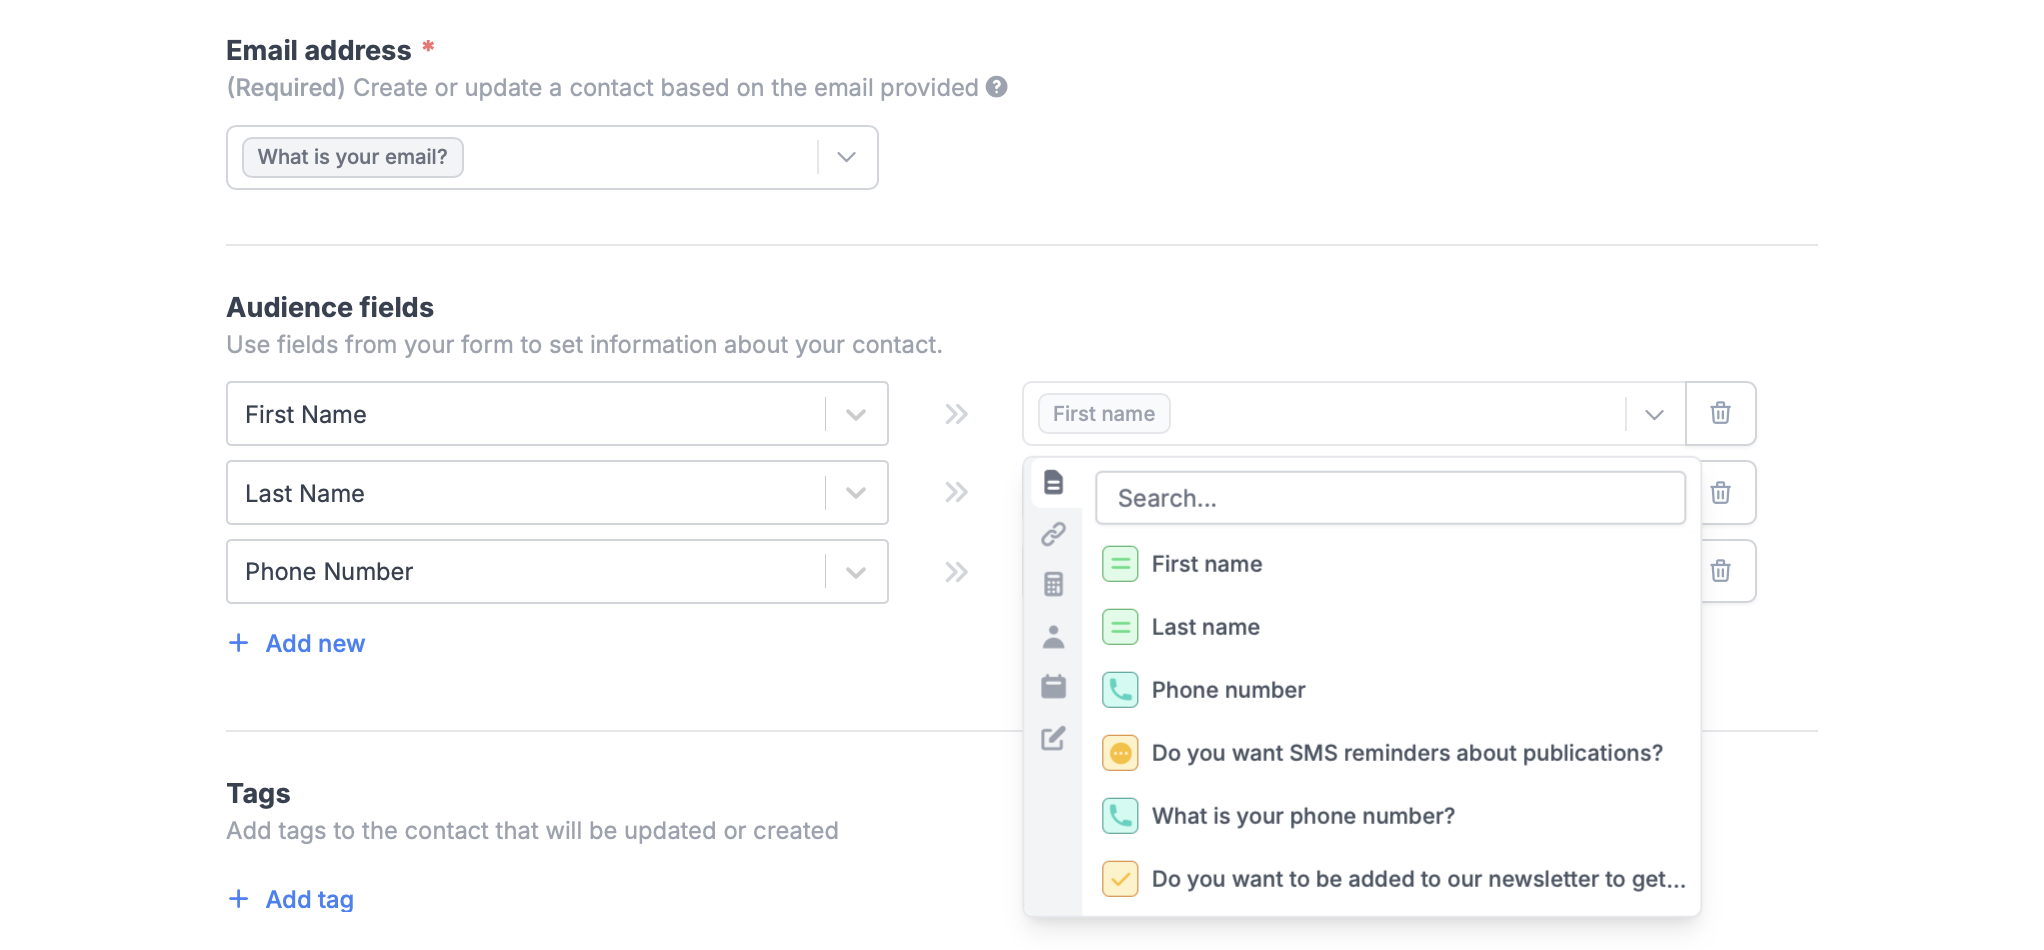
Match the fields in your Fillout form to the corresponding fields in your Mailchimp audience. For example, link the email address field by its respective question.
notion image
ย 
You can use other fields in your form, such as First Name, Last Name, Address, Birthday and Phone number to update your contacts' details. To do this, click + Add new under Audience Fields, followed by the relevant field in the dropdown. Then, map this to the corresponding field in your Fillout form, just like we did above with the email field.
notion image
ย 

3. Publish and share

Click Done after mapping your chosen fields and then click Publish. After publishing, answers to mapped fields from new submissions will appear in your Mailchimp audience list. If a contact with the provided email address already exists, Fillout will automatically update the existing contact's information.
ย 

How to add tags

You can add Mailchimp tags to new contacts automatically to help segment your email audiences.
ย 
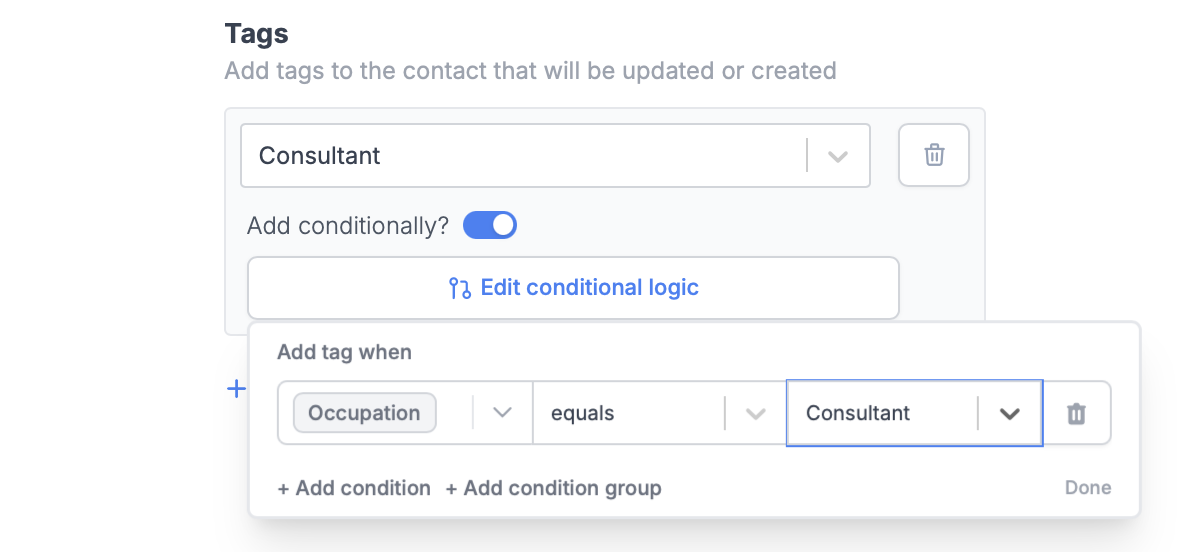
To add a tag, just choose the tag from the tags dropdown. If you want to add the tag to only certain contacts, toggle the Add contionally? switch.
notion image
ย 
To determine which contacts the tags are added to, click Set conditional logic followed by + Add condition. Choose when you want the tag to be added with conditional logic. For example, you might want to only add a tag when a certain option is chosen from a multiple choice dropdown, like when someone selects that their occupation is โ€œConsultantโ€:
notion image
ย 
Remember to click Publish after making any changes to the integration.

Specify a condition

You can run your integration only when a specific condition is met. Check out this guide.
ย 
Related articles
Condition groups
Condition groups
๐Ÿง 
Page logic
Calculations and variables
ย