How to create a workflow
1
Start with a blank Fillout workflow
Open an existing form first or create a new one, then navigate to the Integrate tab from the top menu followed by Workflows to create a + Blank workflow.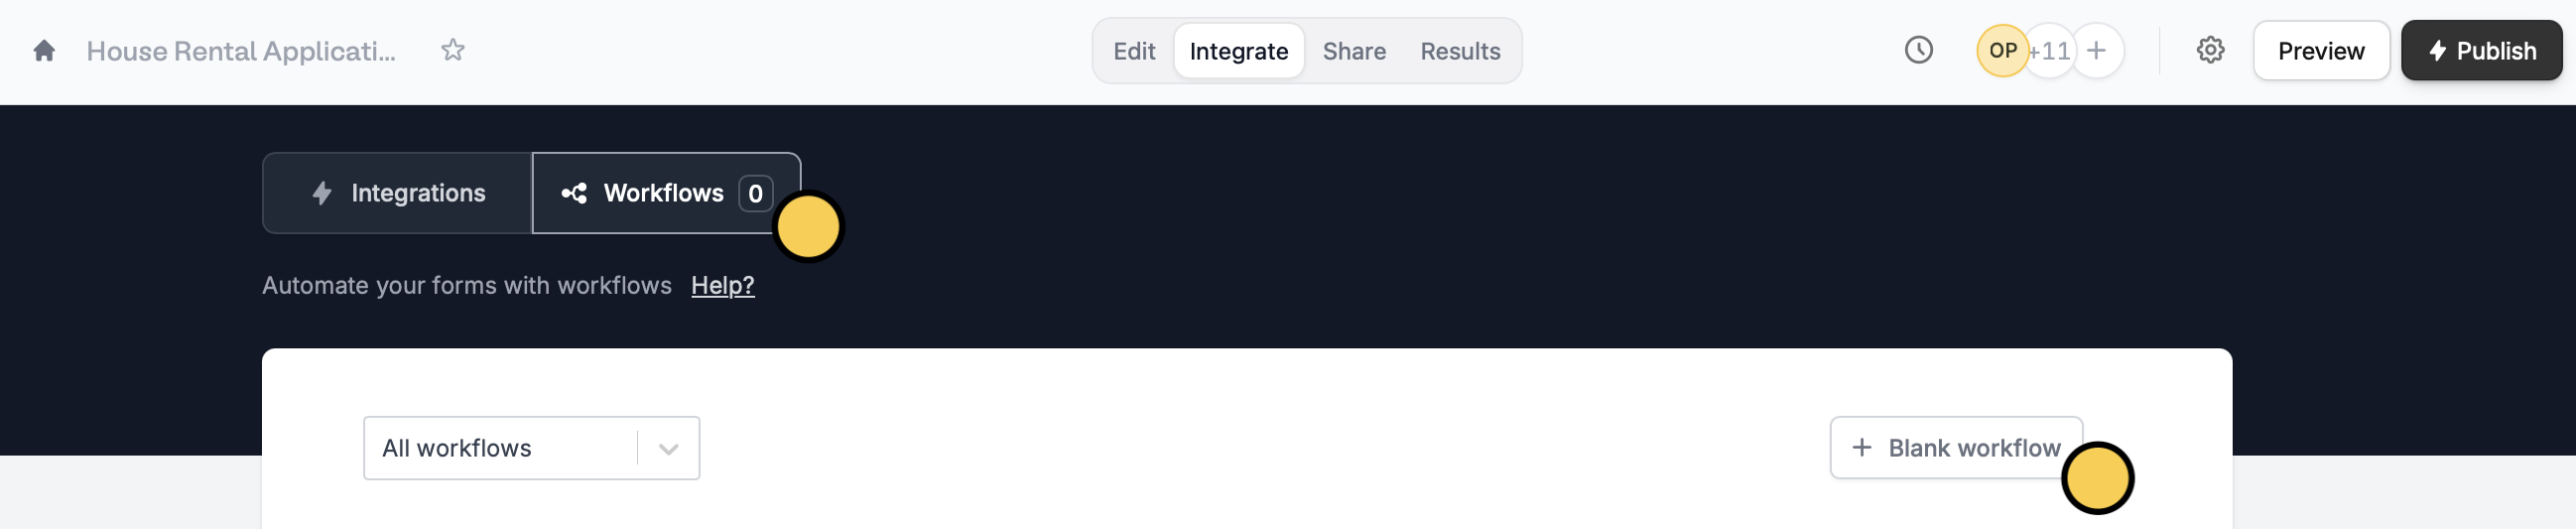
2
Choose a trigger
Select a trigger.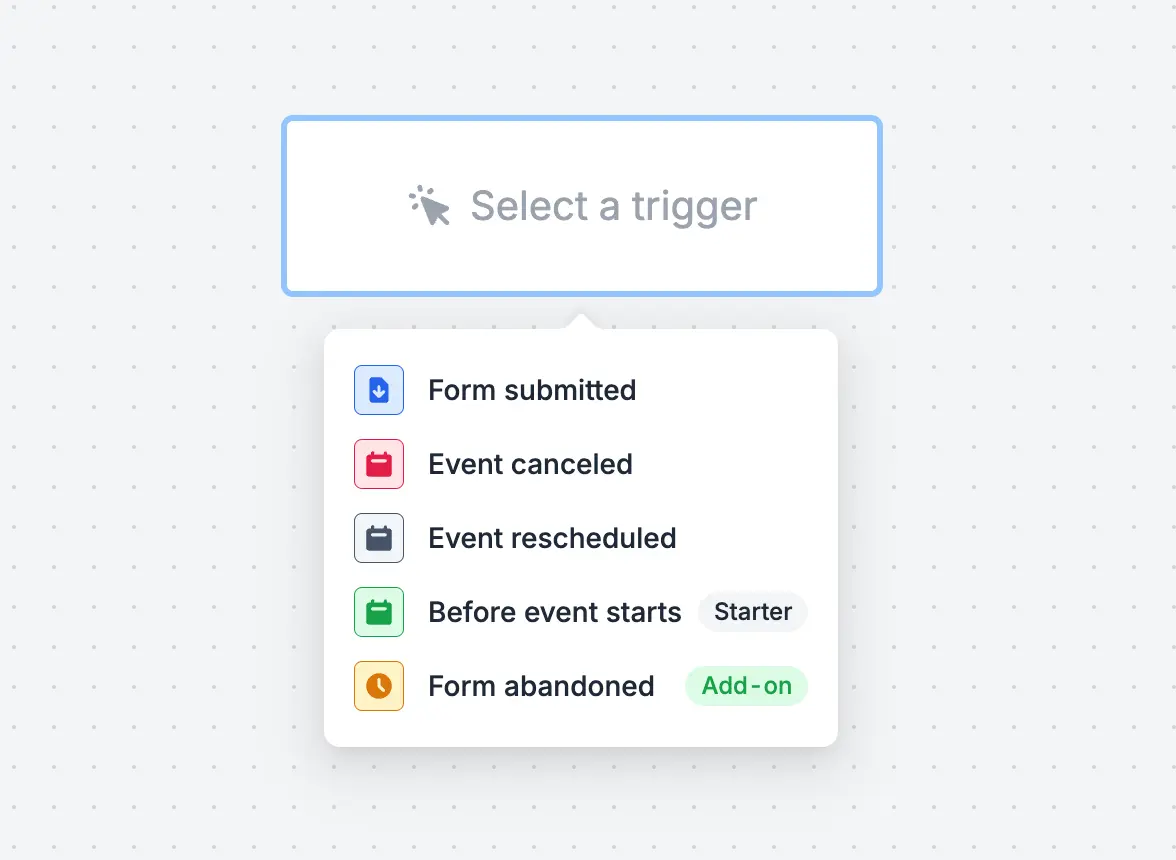
Form submitted
Form abandoned
Scheduling event canceled
Event rescheduled
Before event starts
3
Choose an action
Select an action and Edit it according to your preferences. To add more actions, click the plus icon .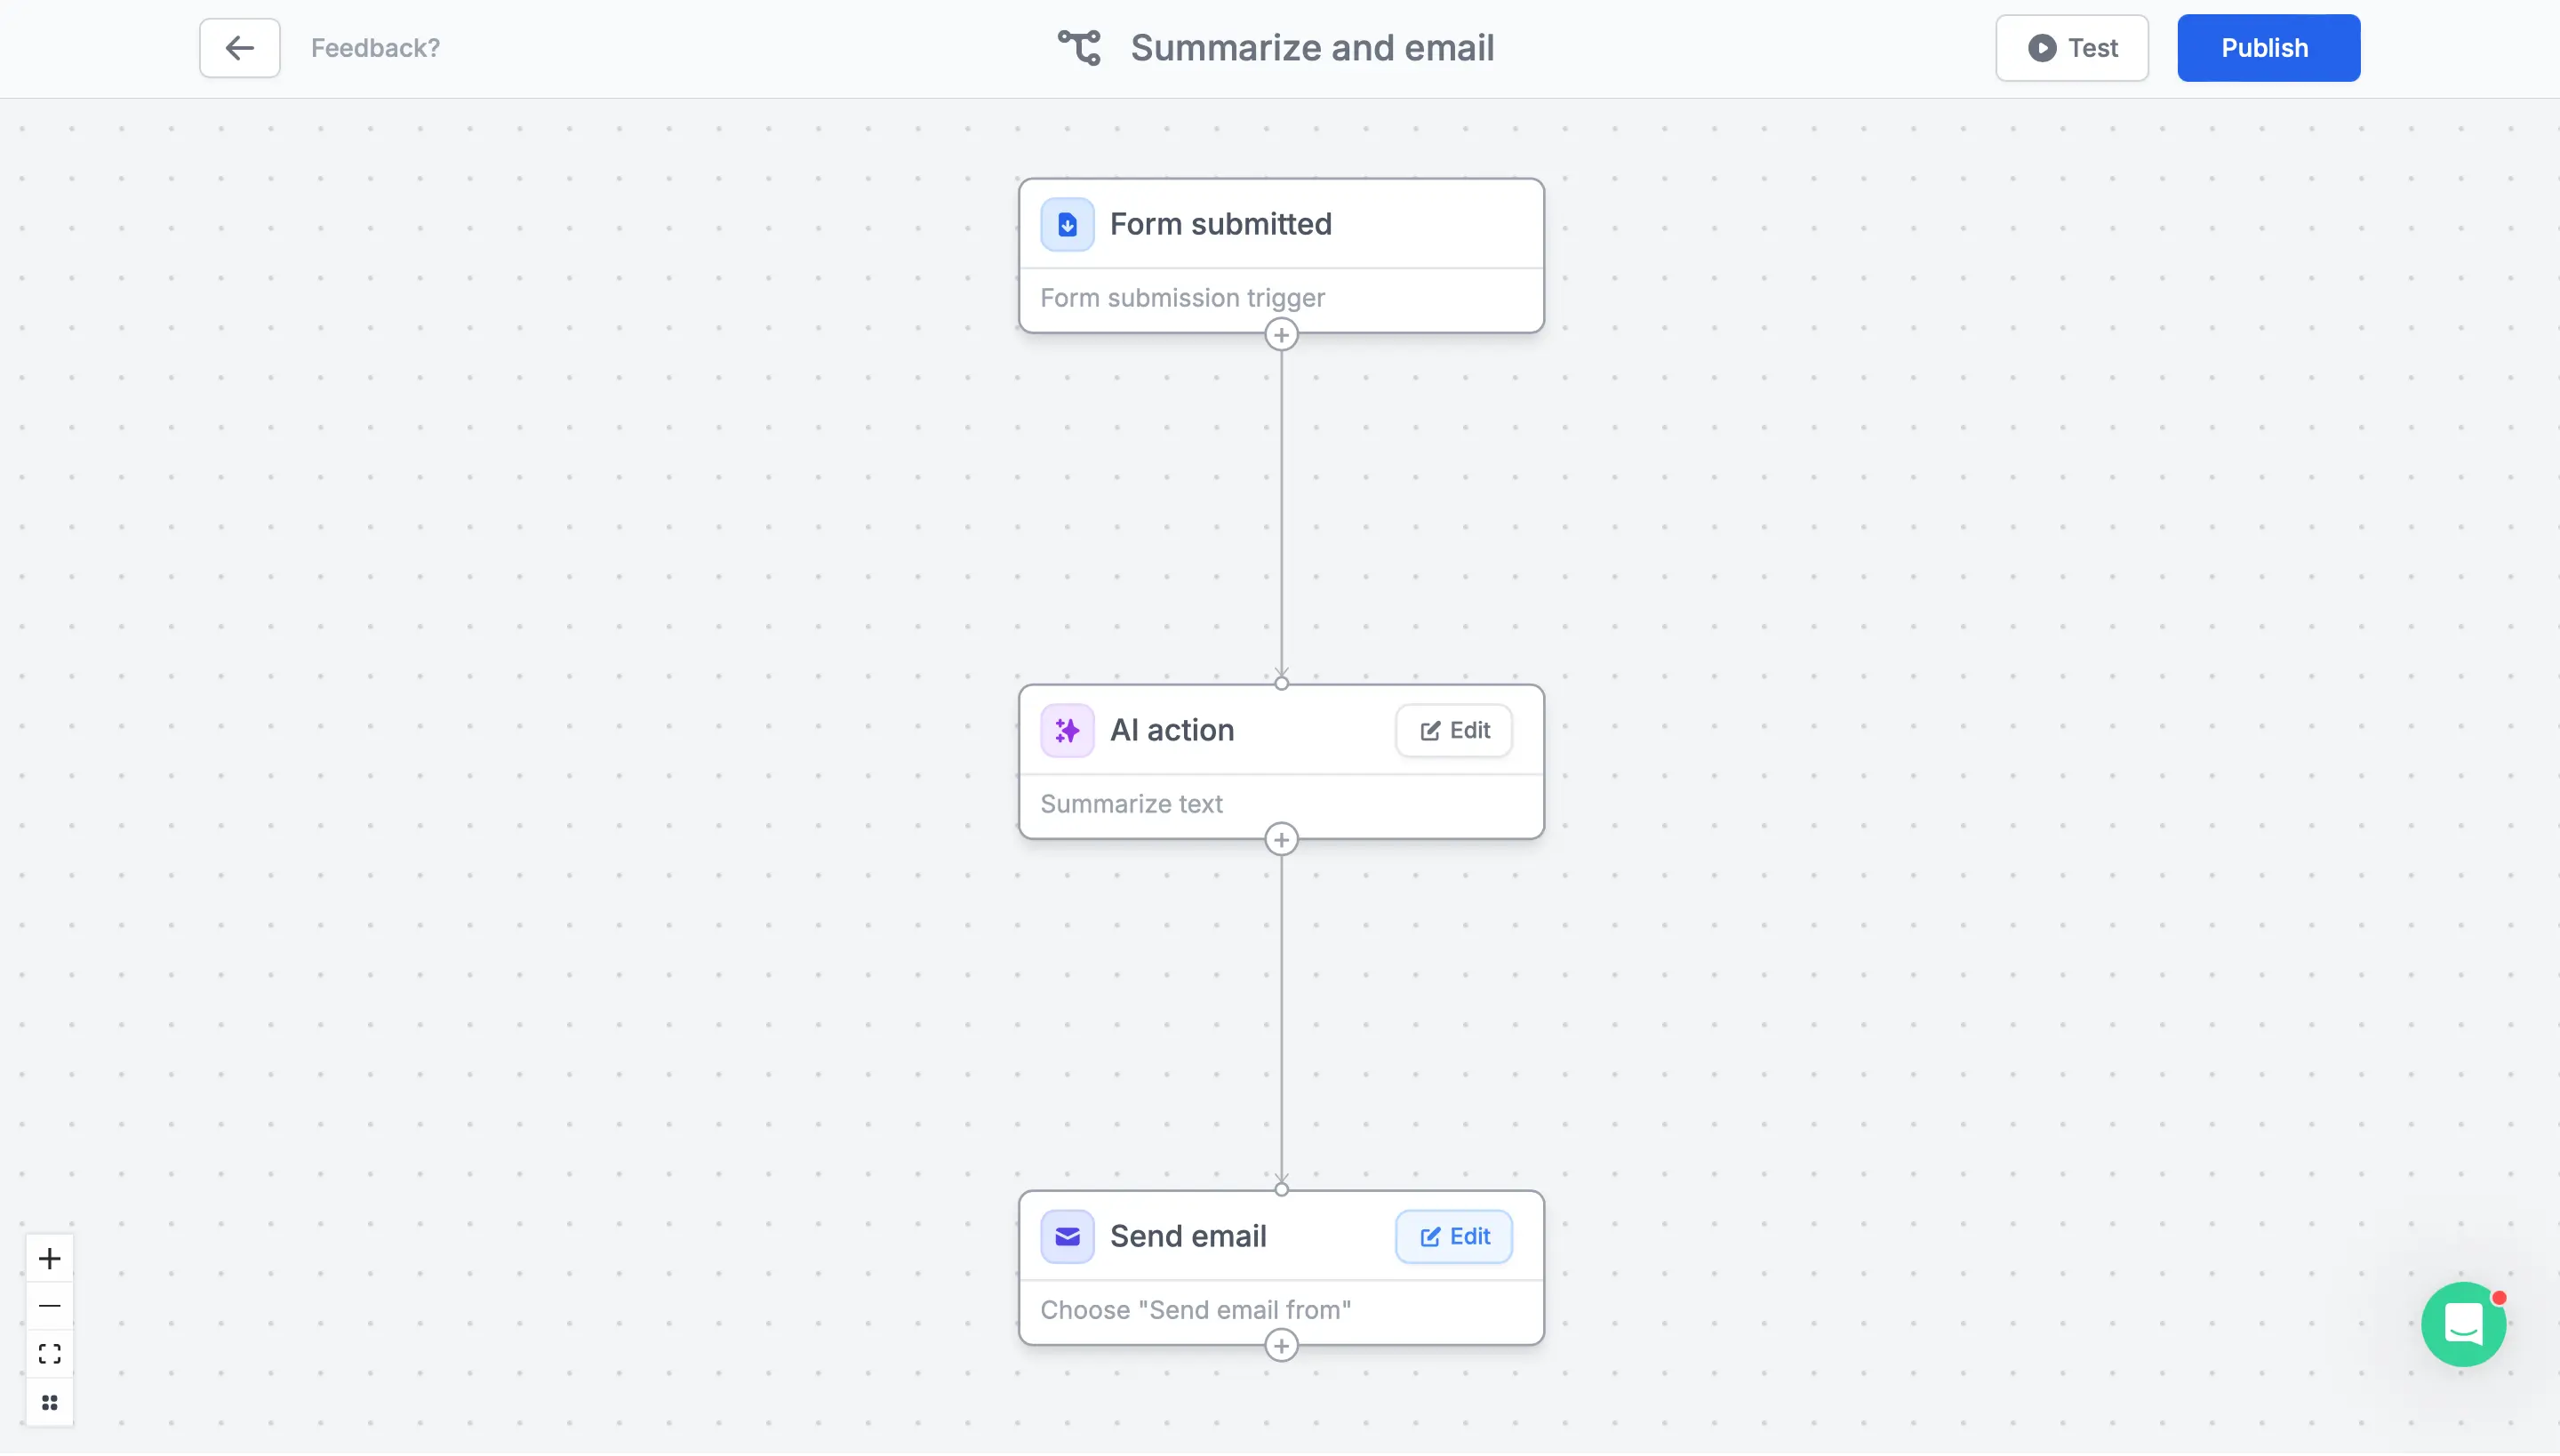
Run AI (Summarize, Classify, Generate, Extract)
Send Slack/Teams/Discord messages
Delay ("wait 4 hours")
Send custom emails
Filter and Branch
Send Webhooks
Request approvals
Send SMS with Twilio
4
Publish and share
Test your workflow first to ensure everything’s running. Then, Publish and Share it.Published workflows also run for submissions made in Preview, so a preview test can send real emails.
Workflow limits
Each form can have up to 5 workflows, or 20 once your organization is verified. Your plan doesn’t change this. To get the higher limit, submit an organization verification request. Scheduling reminder emails don’t count toward it. Each workflow can have up to 20 actions, on every plan. When you reach a limit, Fillout shows Maximum number of workflows added or Maximum number of actions added. On organizations created on or after October 5, 2026 with no paid Fillout or Zite plan, workflow emails from Fillout aren’t sent until you verify your account or upgrade. Emails from a connected Gmail or Outlook account, and actions like Slack messages or webhooks, still run. See Verify your account to send emails.Edit an existing workflow
Click Integrate from the top menu of your form, and click Workflows. Select a Fillout workflow to edit it. To rename a workflow, open it and click its name at the top of the workflow editor. Enter the new name, then click Rename. The new name saves right away, so you don’t need to publish the workflow again.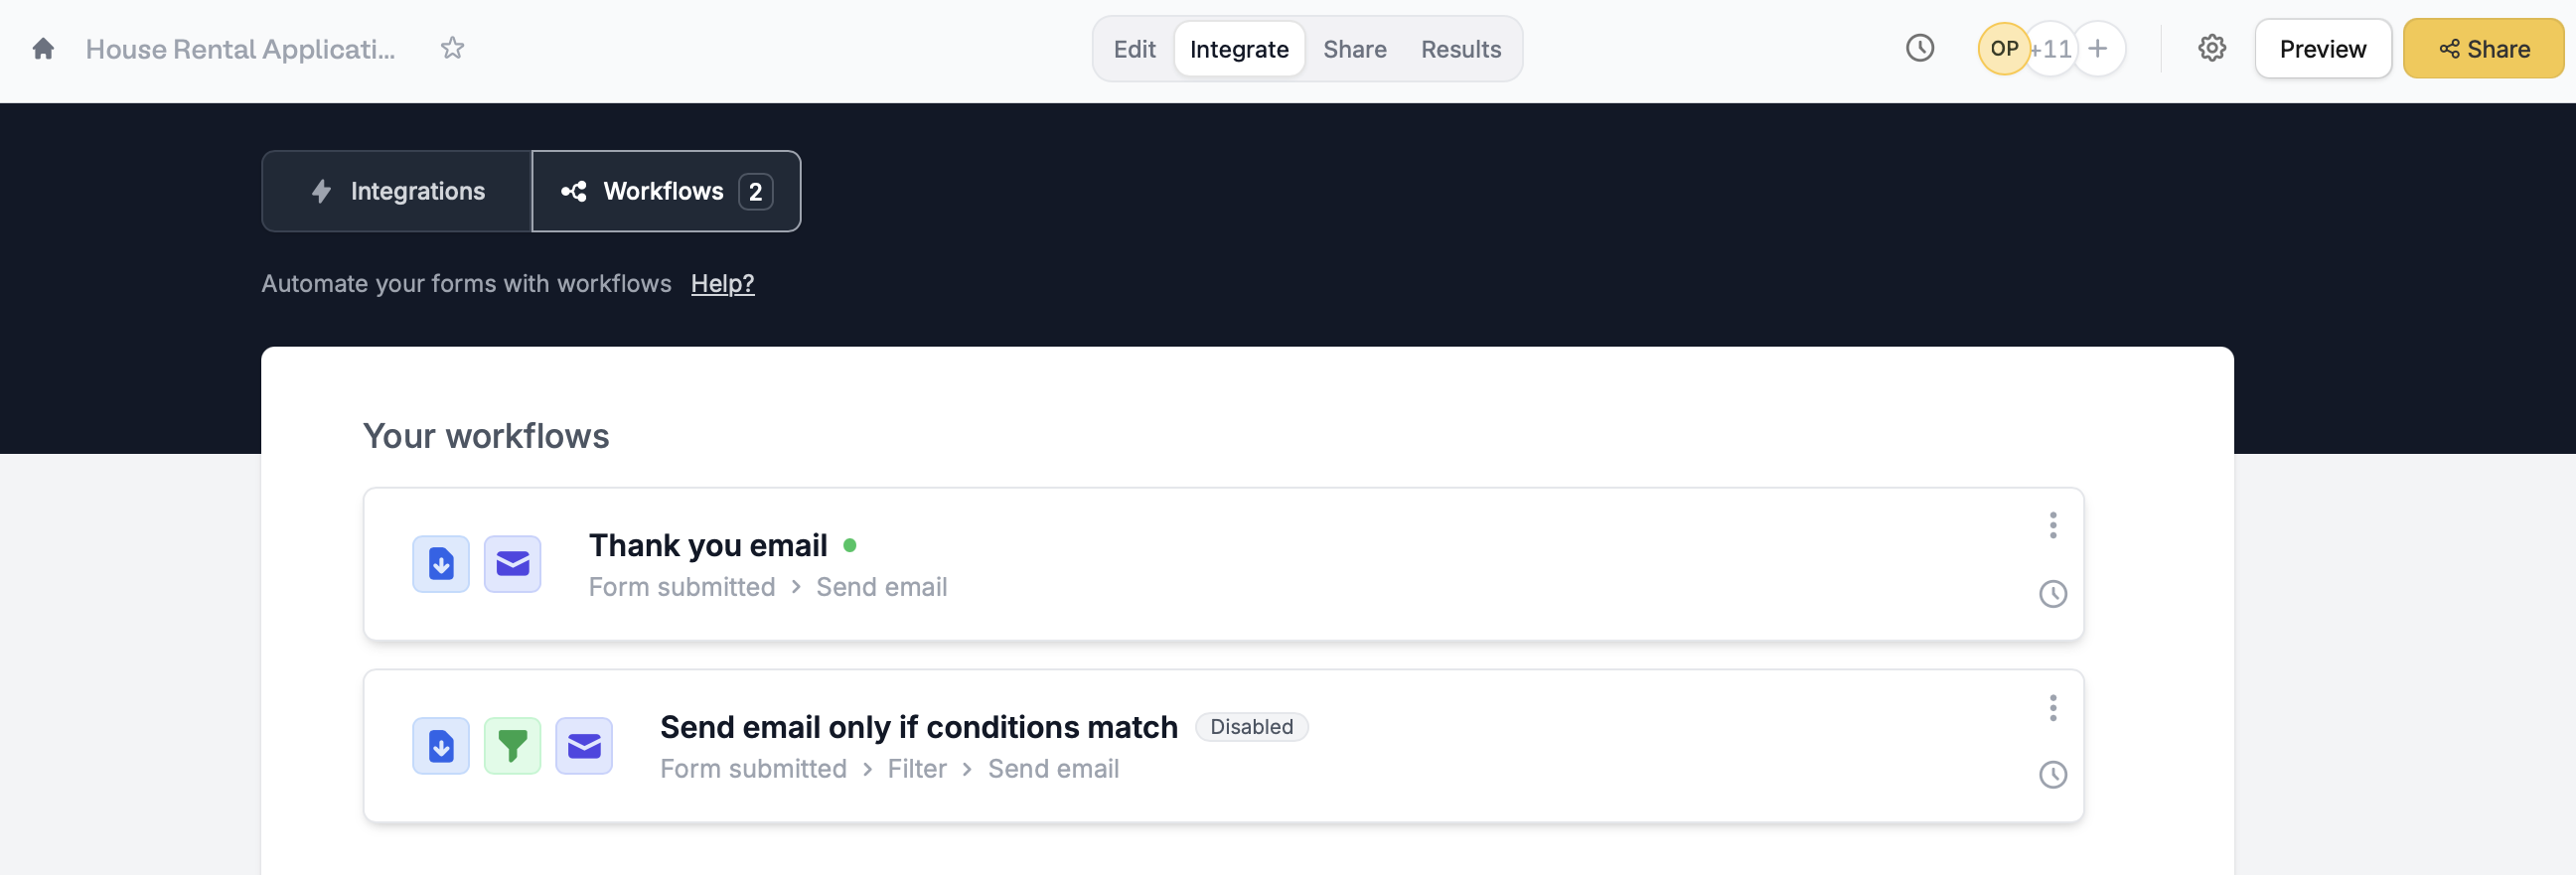
Test workflows with prior submissions
Test your Fillout workflows without waiting for triggers or creating demo submissions. Open a workflow and click Test at the top. Then, choose one of your form’s past submissions and click Run workflow.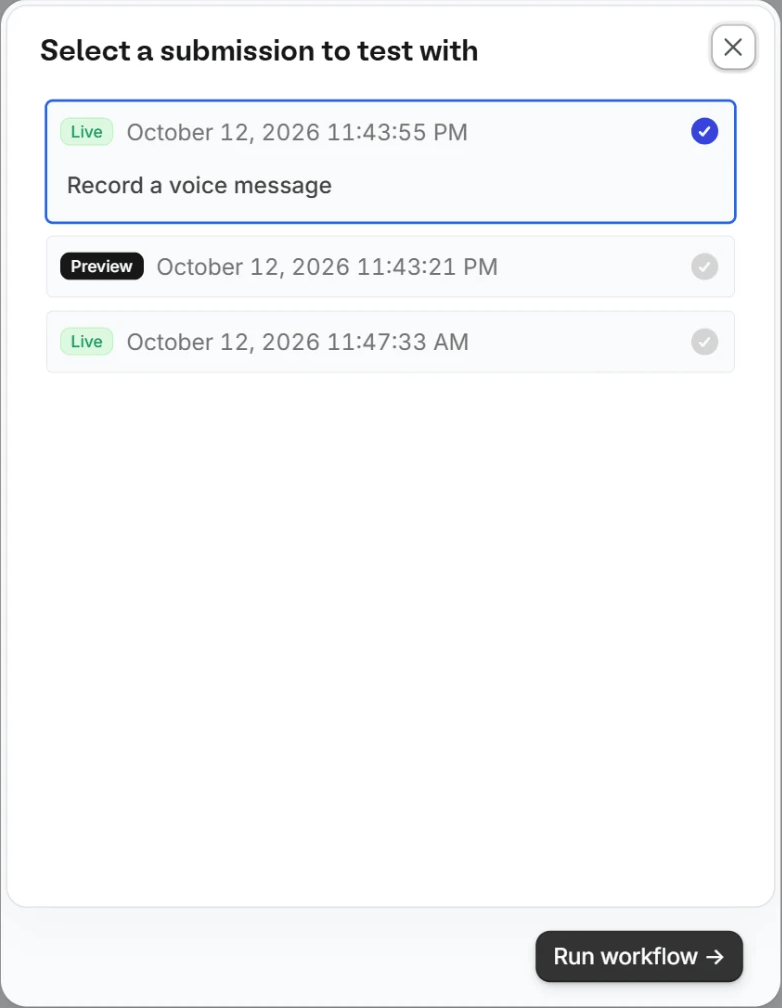
1-click automations with templates
The fastest way to get started with workflows is from a template. Open your form, click Integrate at the top, then Workflows. The templates are listed under Notifications, Approvals, Scheduling, AI and Conversion kit. Click one to start from it, or click Blank workflow to build your own.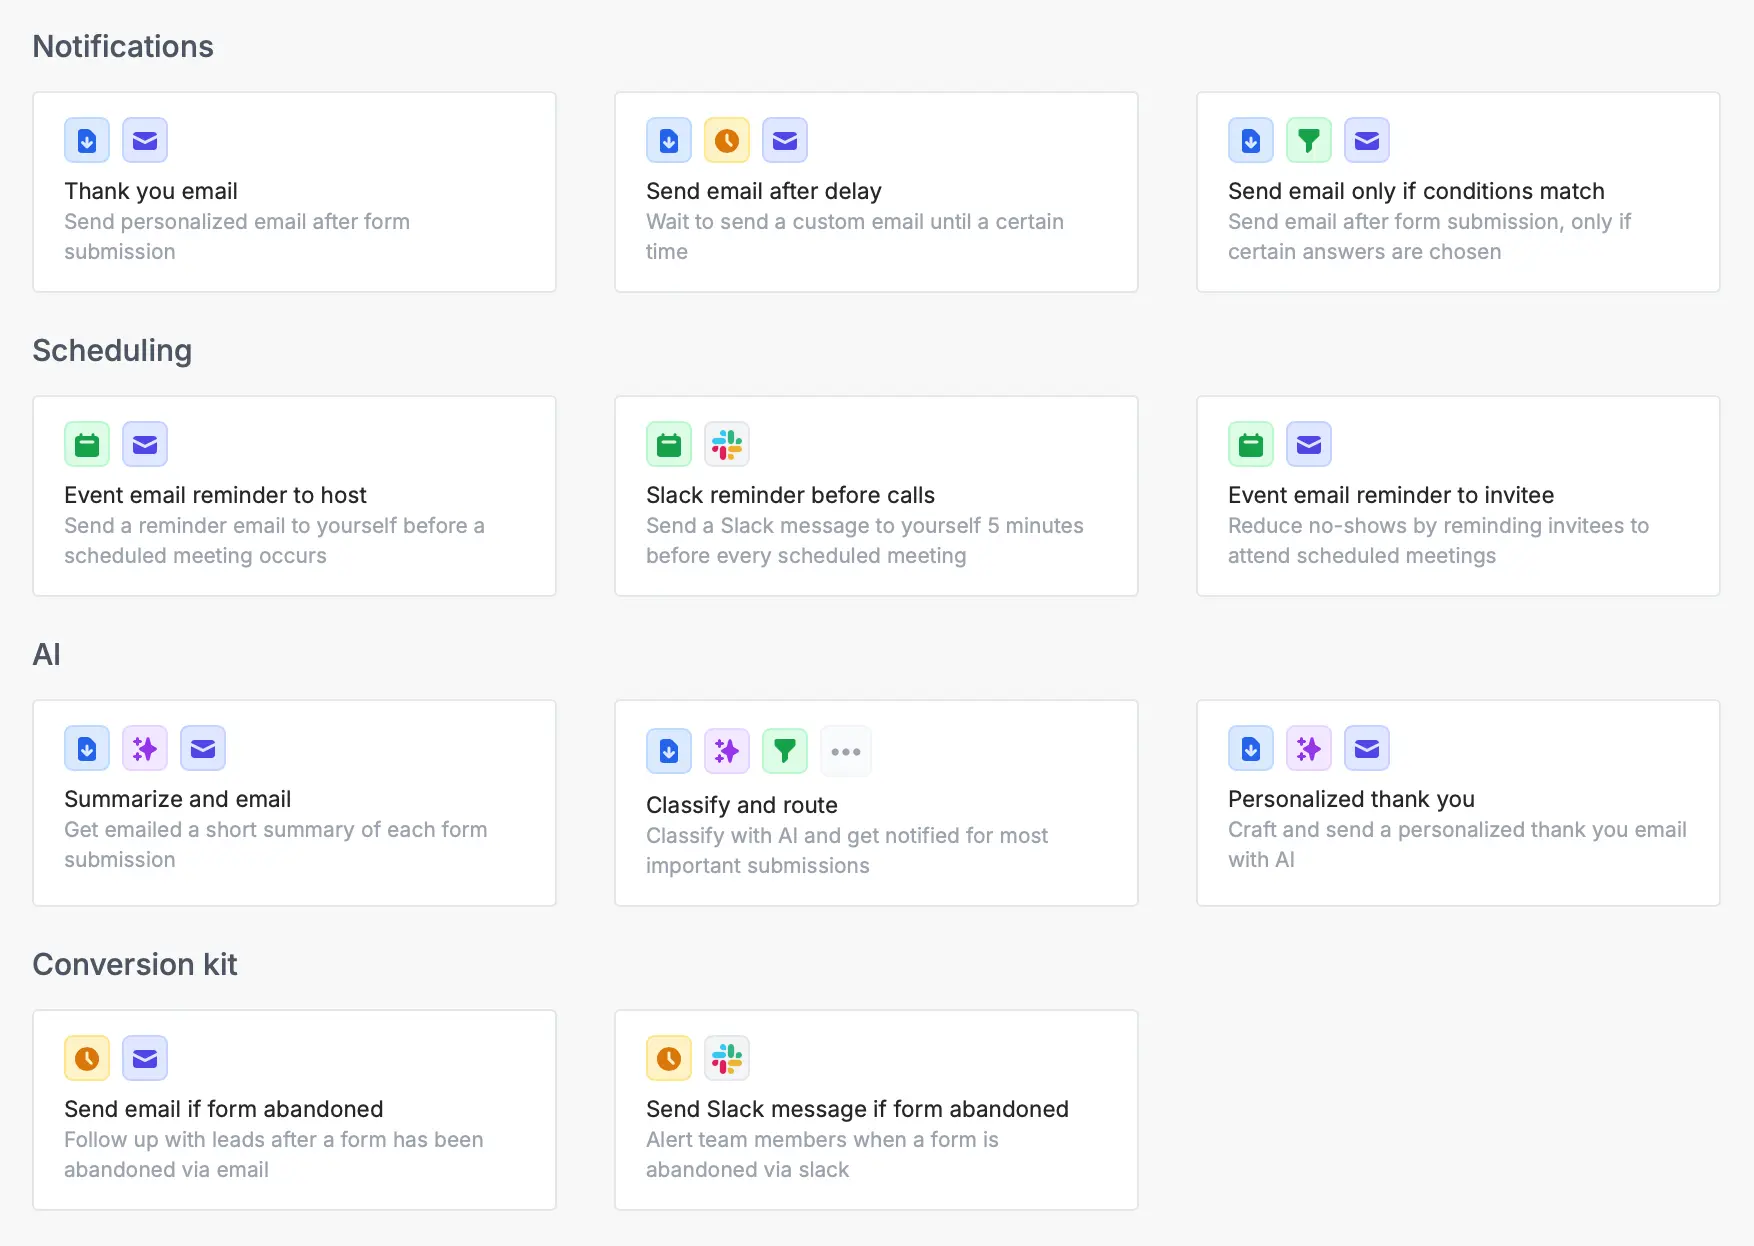
Monitor workflows in one place
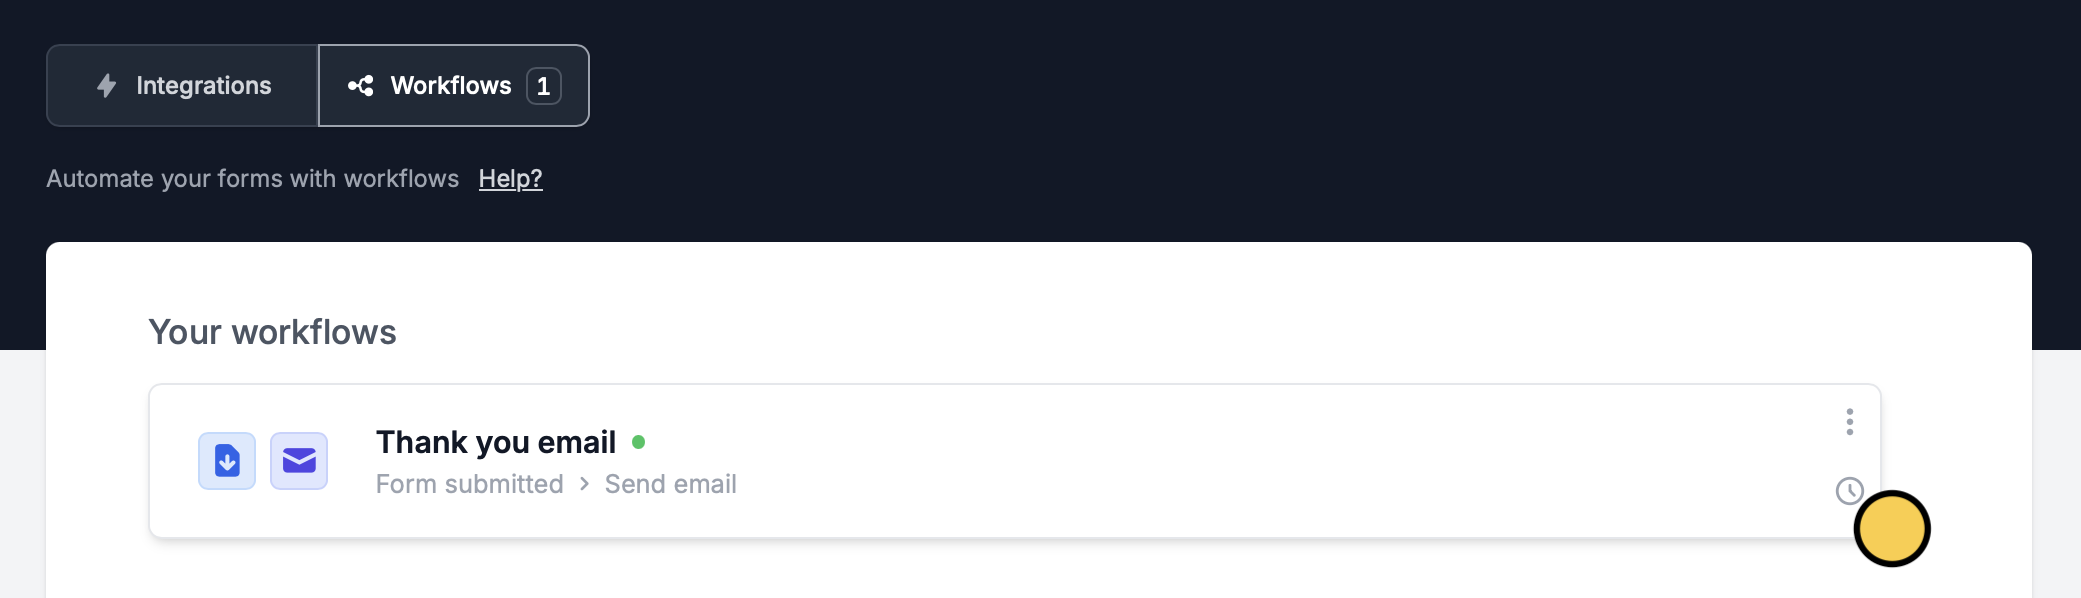
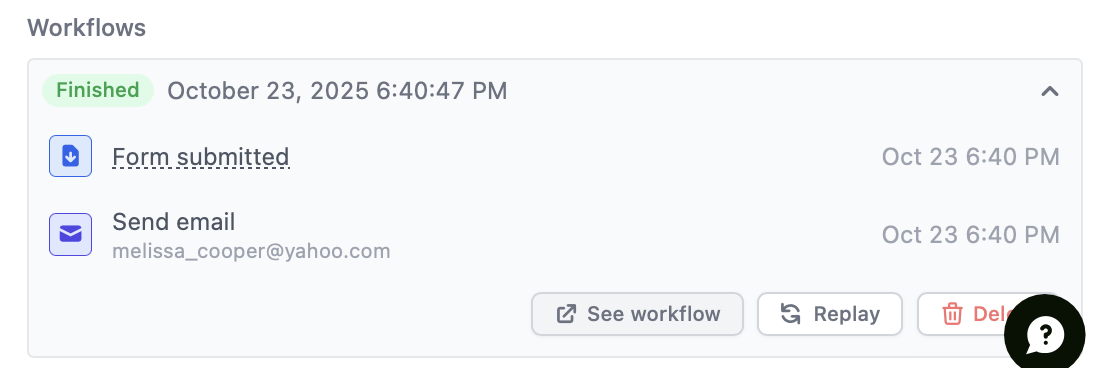
Track email notifications and other Fillout workflows, with full visibility of what happened when. To view workflow runs, open your form and go to Integrate from the top menu. Click the clock icon .