

How to send a custom email
1
Start with a Fillout workflow
Click 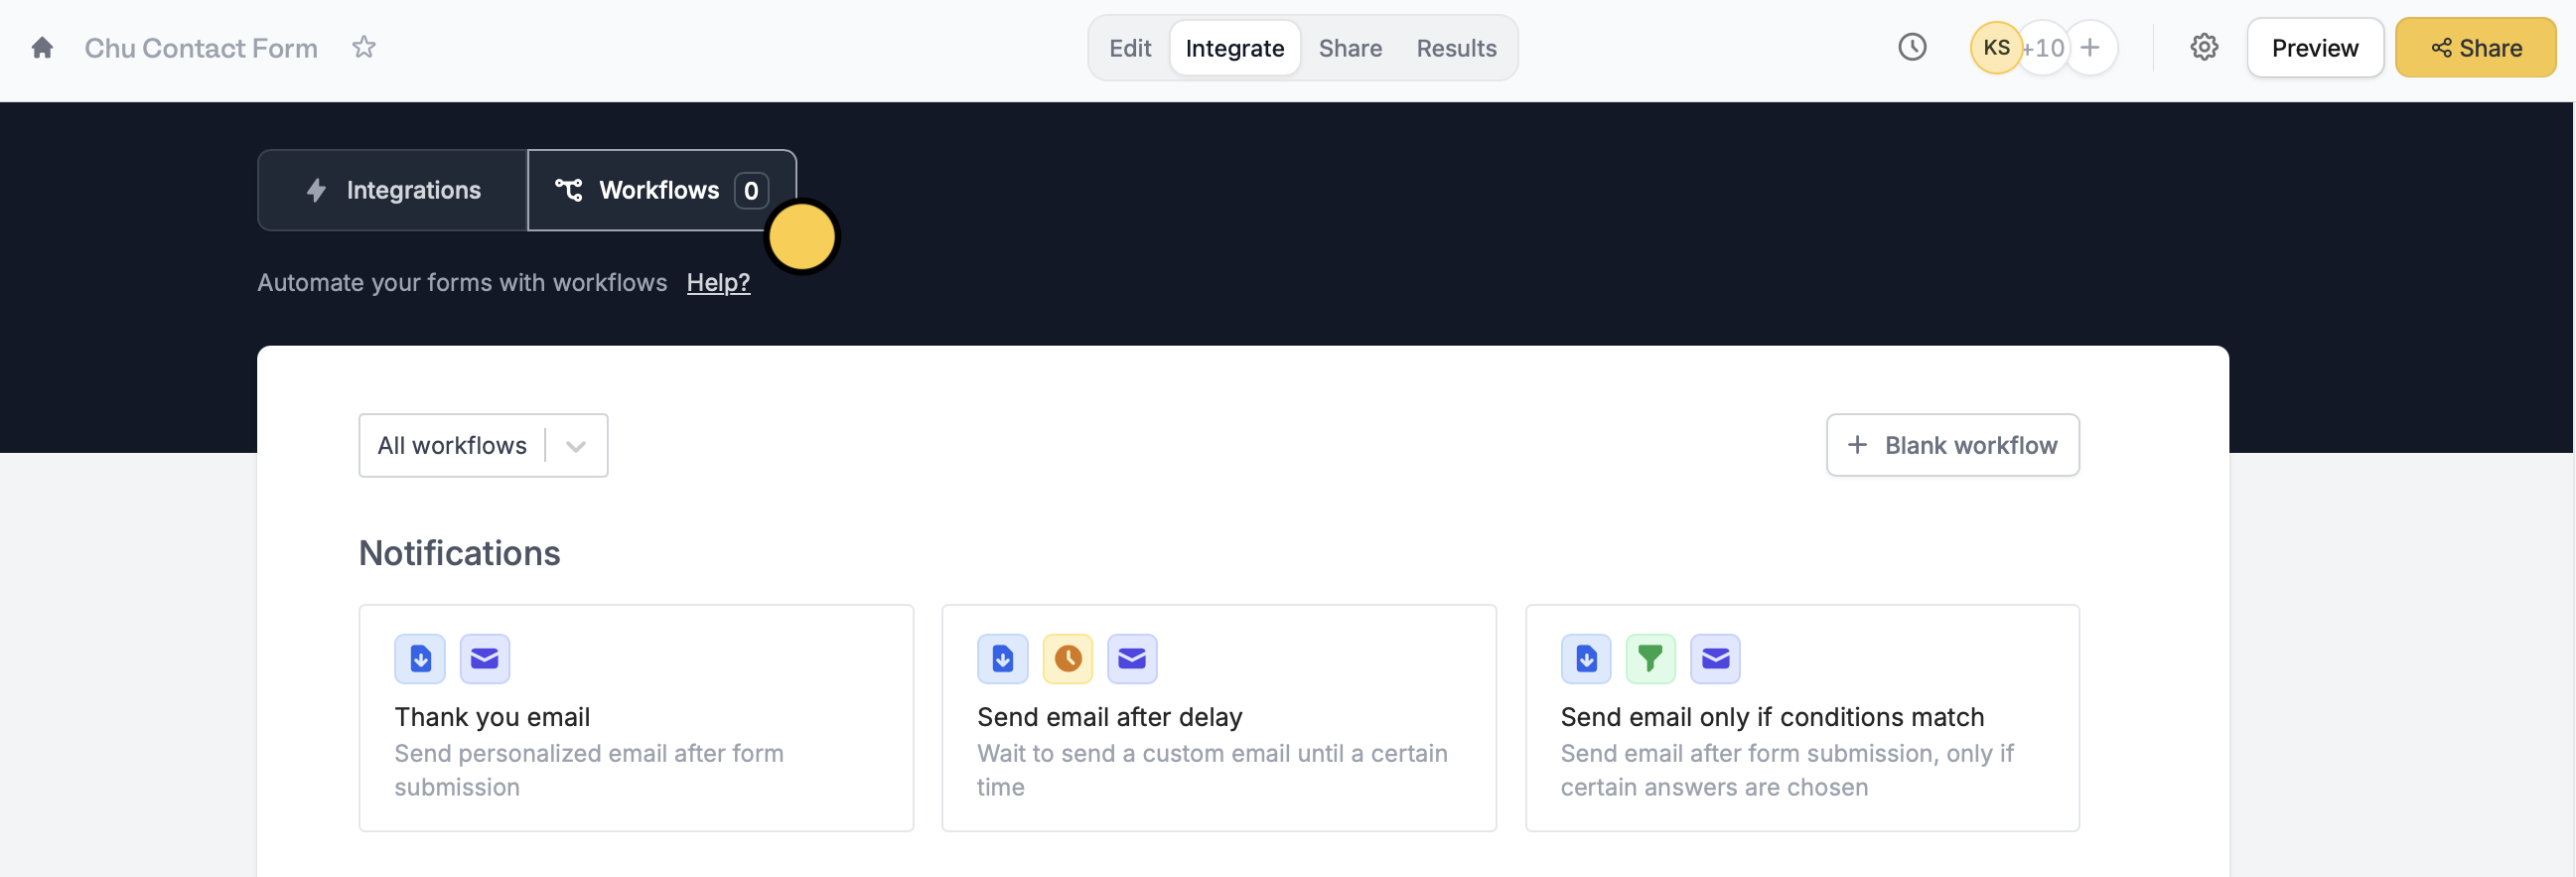
Integrate on the top menu of your form, followed by Workflows. Then, choose a template under Notifications. Alternatively, you may open a form’s Settings page followed by Custom emails.2
Edit your email
Then, 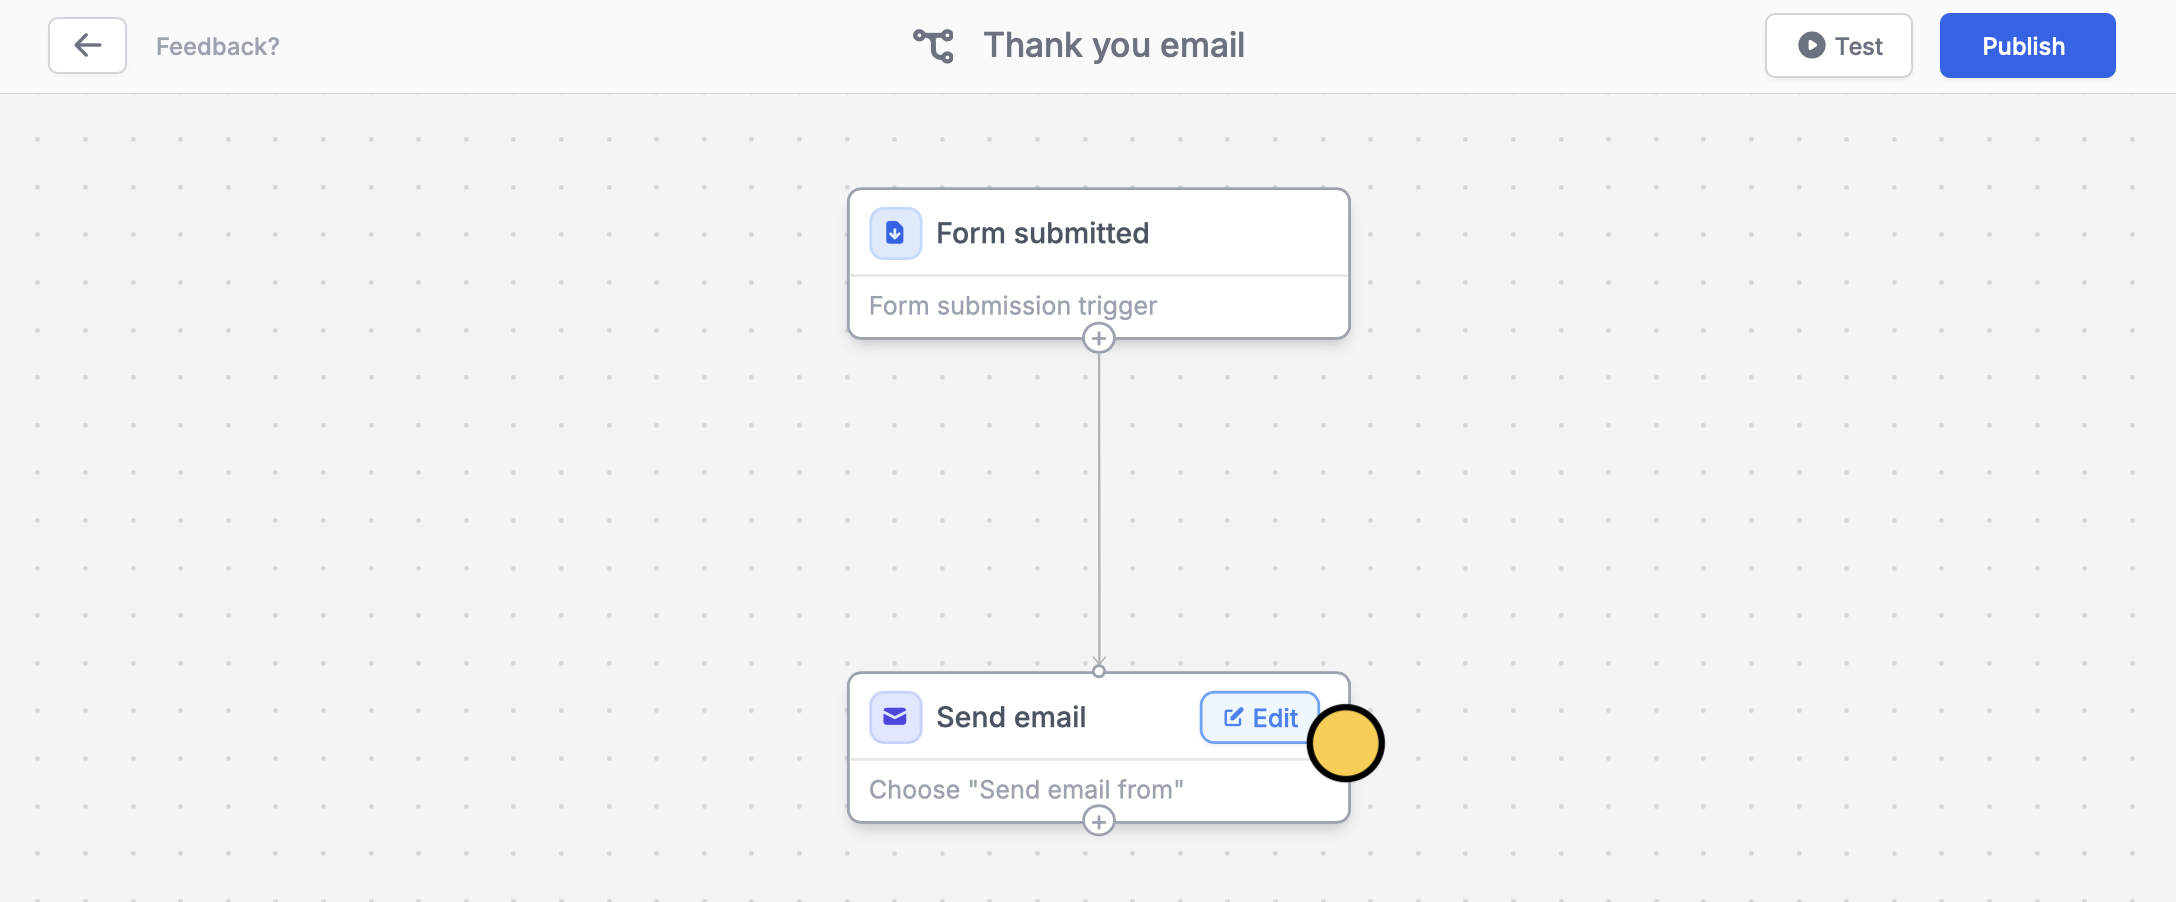
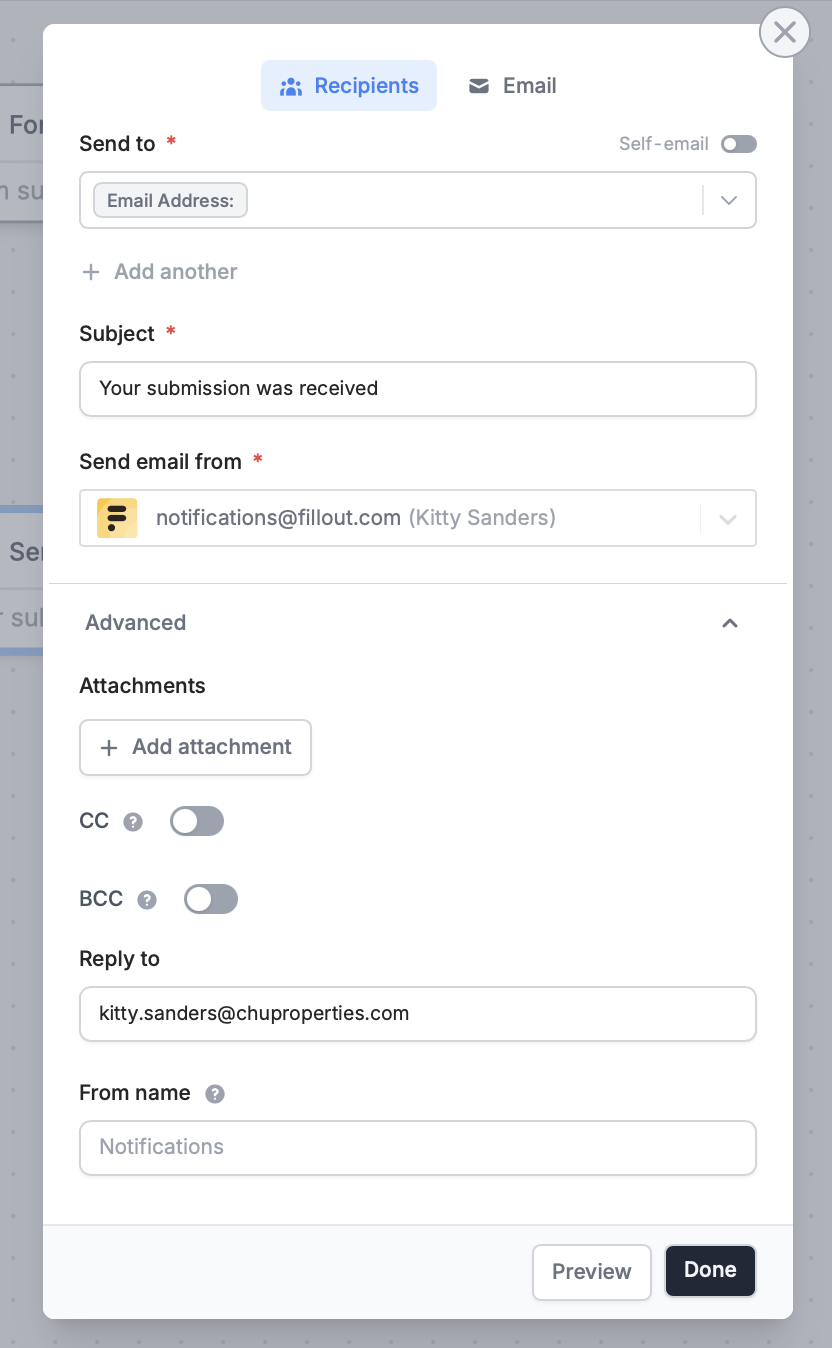
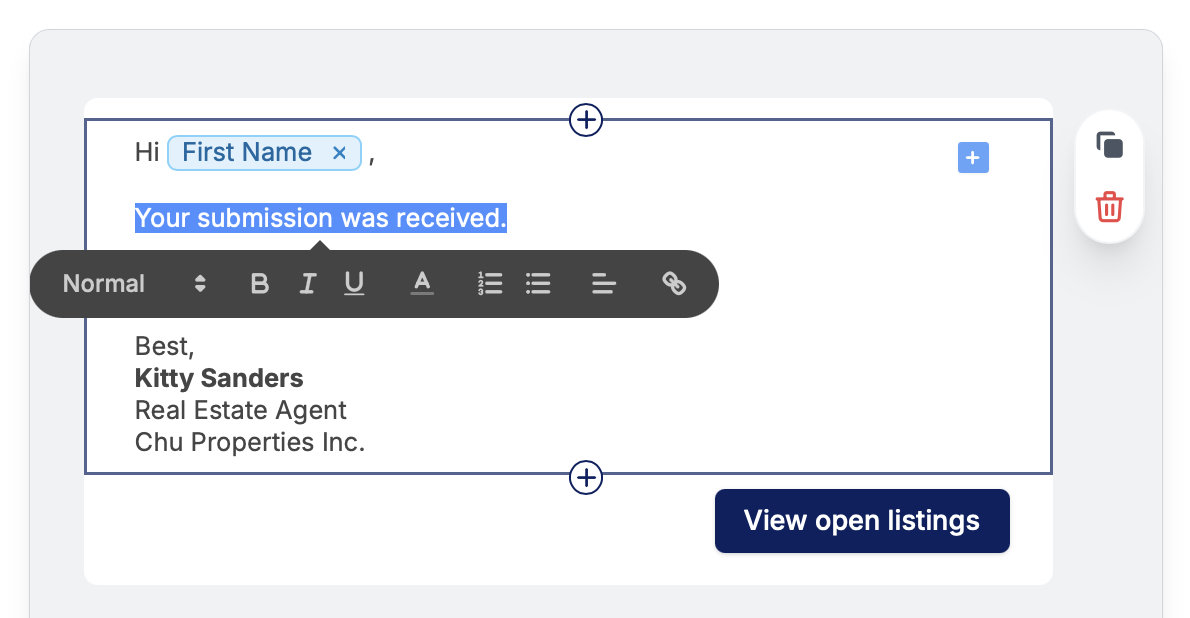
Edit the contents of your email.notifications@fillout.com by default. You can also opt to Send email from your SMTP server or Gmail or Outlook account.The sender name depends on where the email is sent from:- notifications@fillout.com - expand Advanced and set it in From name. This field only shows once your account is verified. To verify, submit this form. If you leave it empty, the email shows the name next to
notifications@fillout.comin Send email from, which is the name of the person who set up the email. - Gmail - the name on your Google account. To change it, rename your Google account.
- Outlook - the name on your Outlook mailbox.
- SMTP - only the email address is sent, without a name.
+ Add attachment.3
Reference answers (optional)
You can also pipe answers, like First Name, by typing @ or clicking the 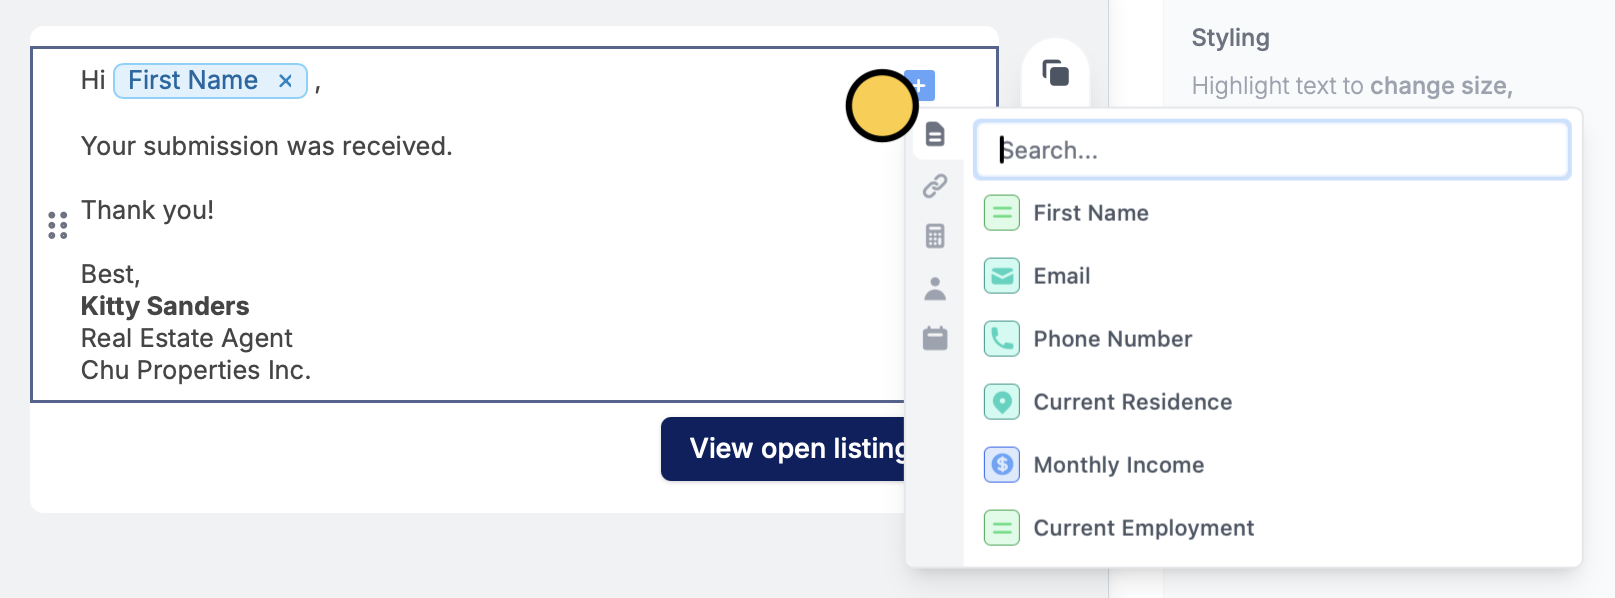
plus icon and choosing the corresponding field or question.Test your email workflow before clicking Publish on the upper right corner.Send to an address from an answer
When an email’s recipient comes from a form answer, a URL parameter or a database record, it has to be exactly one email address. If it holds several addresses, or something that isn’t an email address, that recipient is skipped and nobody is told. Other recipients of the same email still get it. The same applies to form abandonment reminders. Addresses you type in yourself can still be a list separated by commas. Each CC and BCC entry takes one address, so add one entry per person.Send different messages based on responses
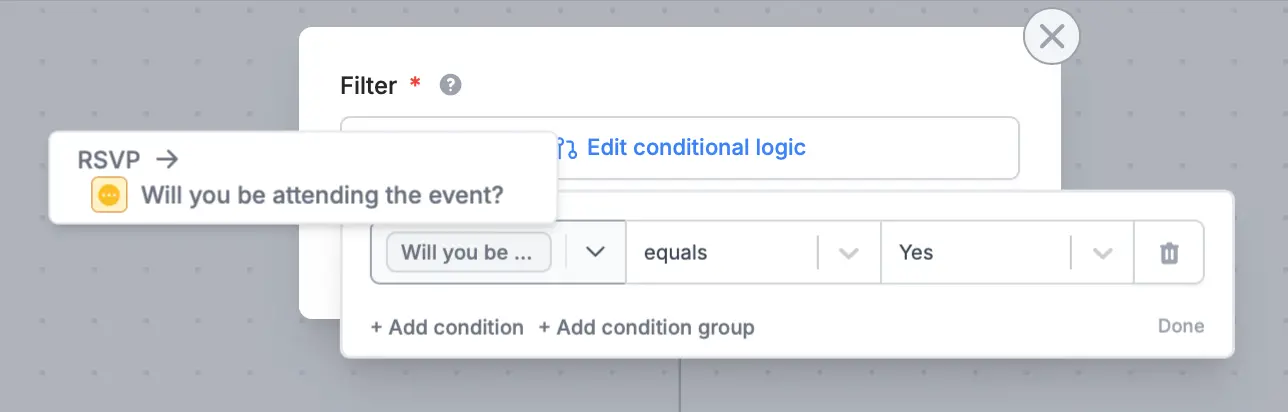
You can send a different message to a group of respondents depending on their answers. Choose Send email only if conditions match.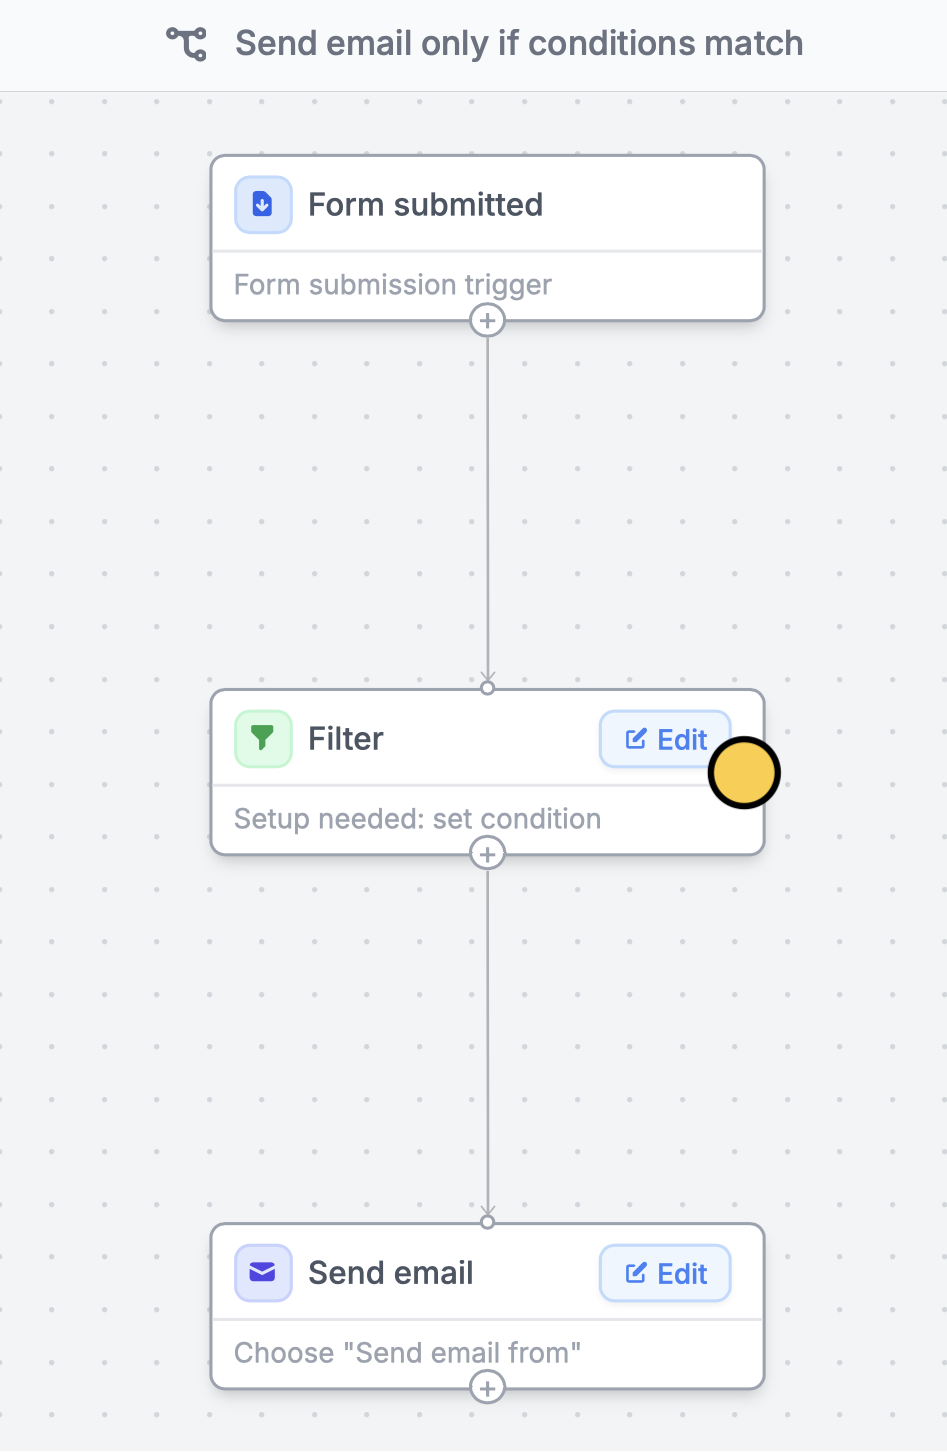
Recipients and advanced settings
In the Recipients tab, Send to takes up to 3 email addresses, or 10 once your organization is verified. Expand Advanced to add CC, BCC, Reply to, From name and Attachments. You can attach files from File upload, Audio recording and Signature fields in that submission, or a PDF your form generates for it.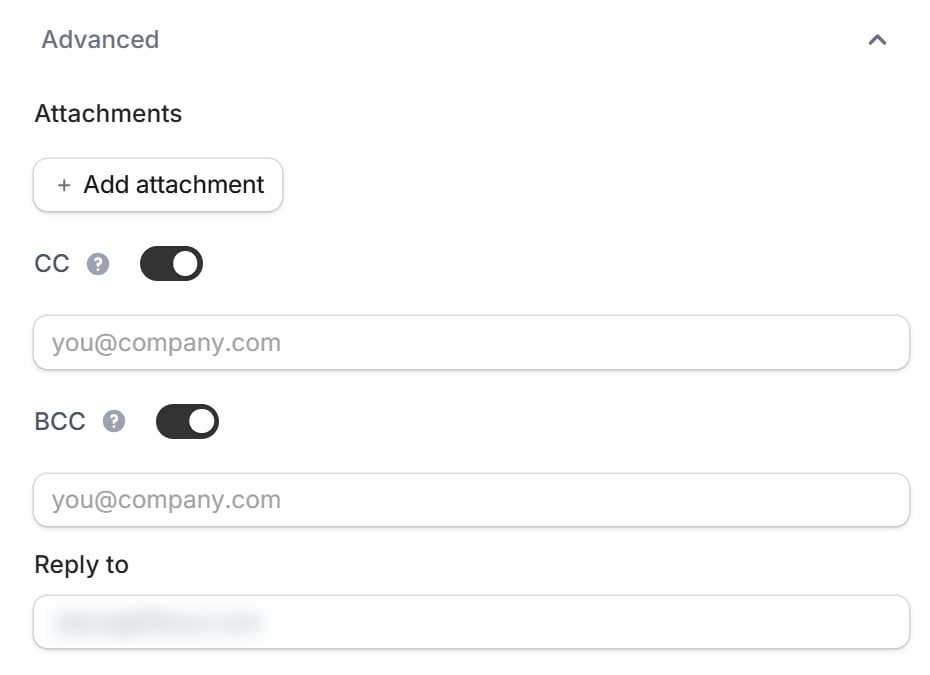
Remove a sender
To remove a Gmail, Outlook or SMTP account from Send email from, delete its connection under Settings, then Integrations. See Manage integrations. This can’t be undone, and forms that use the connection lose it.Send emails after a specified duration
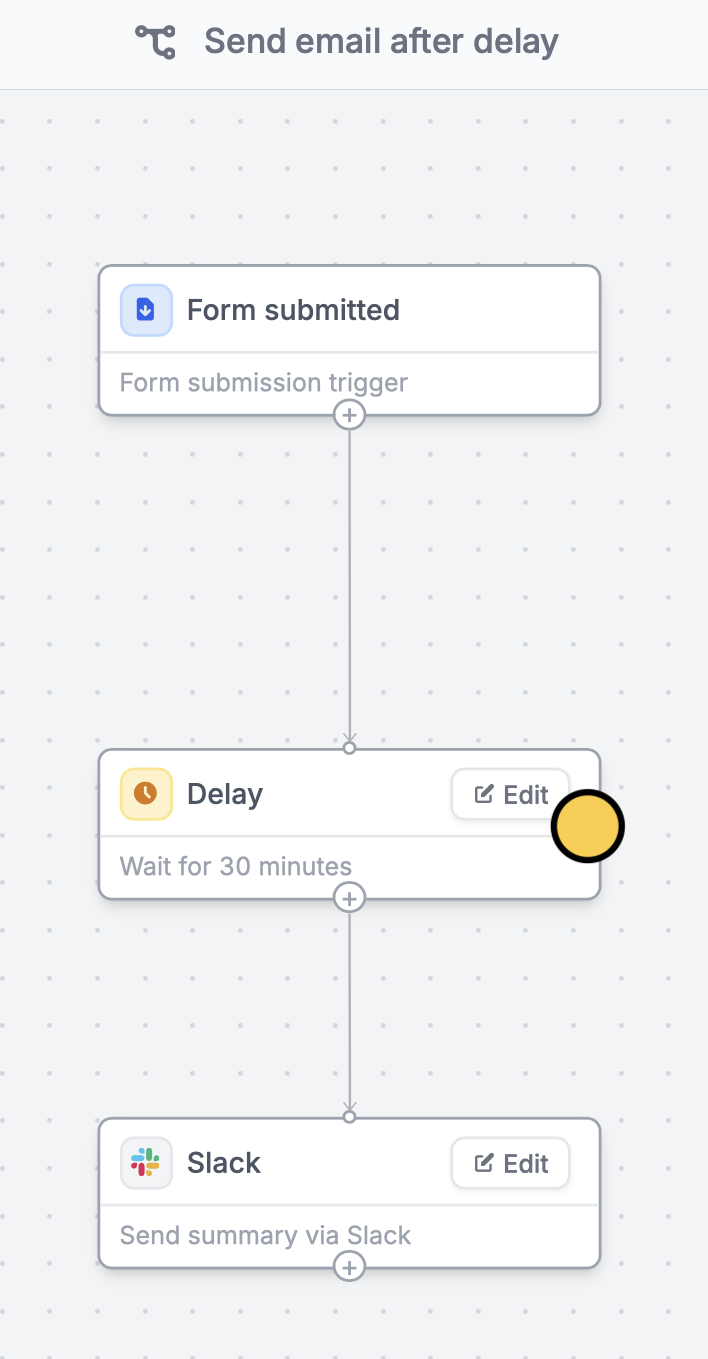
You can opt to Send email after delay andEdit how much later you want to send it in minutes, hours, or days.
Style your email
To customize the look of your message, go toEmail. Select your preferred Style and Theme. Click the plus icon to add more elements.
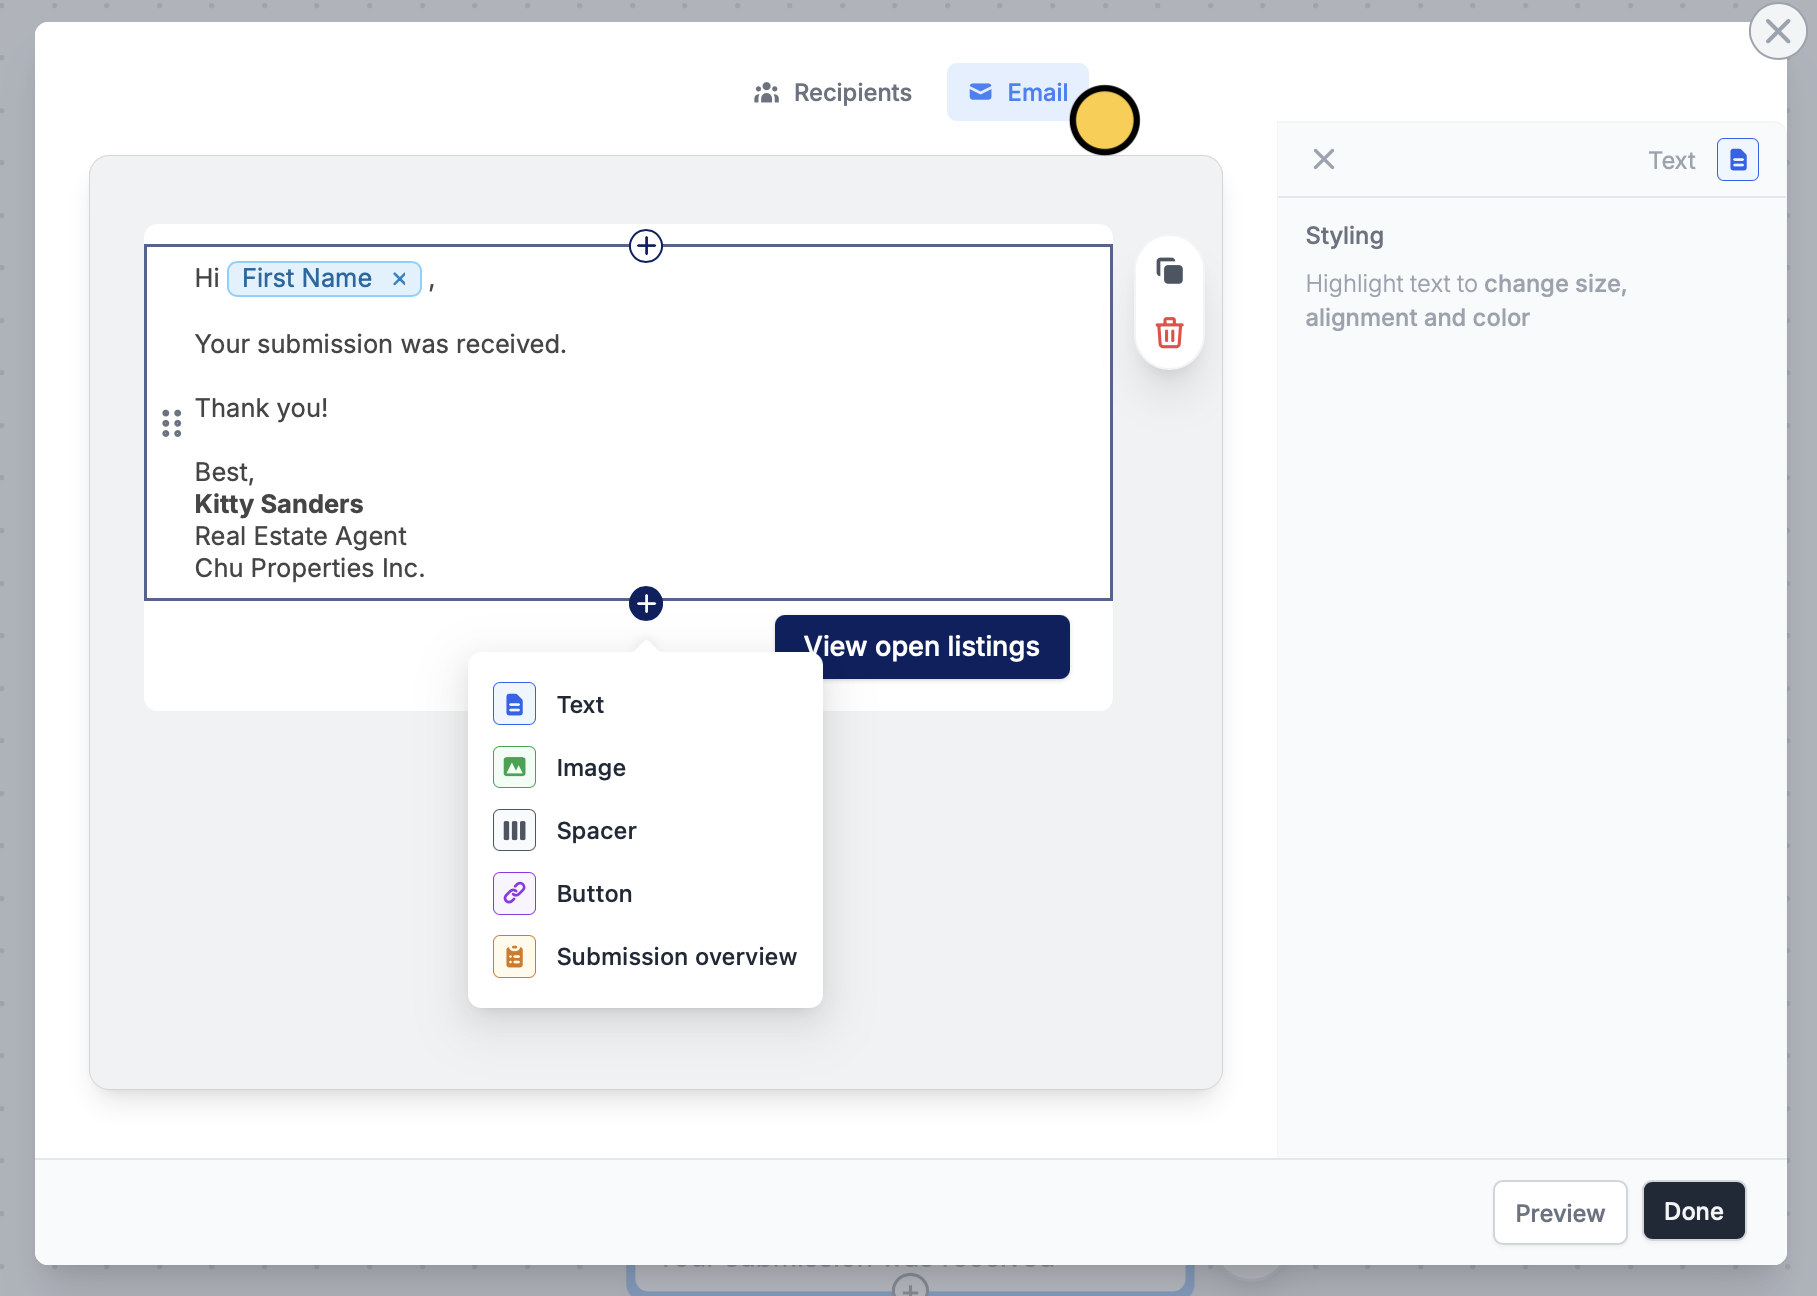
- Text - your message. To insert answers, URL parameters or calculations, hover over the block and click the plus icon.
- Image - an image, such as your logo, with an optional link. Upload it or paste its URL, then set its Alignment and Max height.
- Spacer - extra space between blocks.
- Button - set its Action to Open URL, or to Edit submission to open the respondent’s edit link.
- Submission overview - a summary of the answers. Learn more in Add a submission overview.
Add a submission overview
Here’s a quick way to show your respondents a summary of their form submission.
Under Format as, choose who the overview is for:
- Self-notification - includes URL parameters, scheduling details, unanswered questions and other hidden information.
- Respondent email - leaves that information out.
Troubleshooting workflow emails
The workflow won’t publish
If a step isn’t finished, Publish shows Workflow is incomplete and lists the steps to fix. Hover over a step to see what’s missing, like a subject, recipients or Send email from. If the workflow uses something your plan doesn’t include, you’ll see Your workflow includes features that aren’t in your plan. For example, the Before event starts trigger needs a Fillout Starter plan or above, and sending fromnotifications@fillout.com needs a Fillout Starter plan or above, or a verified account. Upgrade, or remove those features to continue.
Changes don’t show up
Workflows have their own Publish button, separate from the form’s. After you edit a workflow, publish the workflow from the workflow editor, then publish the form too. That way respondents always get the latest version of both.The email comes from the wrong address
When you send from Gmail, the email always comes from the connected Google account’s own address. Aliases and Send mail as addresses, like a Google Group, can’t be used as the sender. To send from a shared address, connect that account directly, or use SMTP.Respondents get more than one email
Workflow emails, self-email notifications and respondent notifications all send separately. If more than one is on, people can get two emails for the same submission. Turn off the ones you don’t need.Related articles
Answer piping
Insert previous answers into upcoming questions or fields.
Delay ("wait 4 hours")
Pause workflows for minutes, hours, or days.
Use SMTP
Send emails using your SMTP server to ensure reliable delivery.