What is Airtable?
Airtable is a cloud-based collaborative database and project management platform that combines the simplicity of a spreadsheet with the power of a database.Video tutorial
Check out this tutorial on using Fillout to create or update an Airtable base.How it works
1
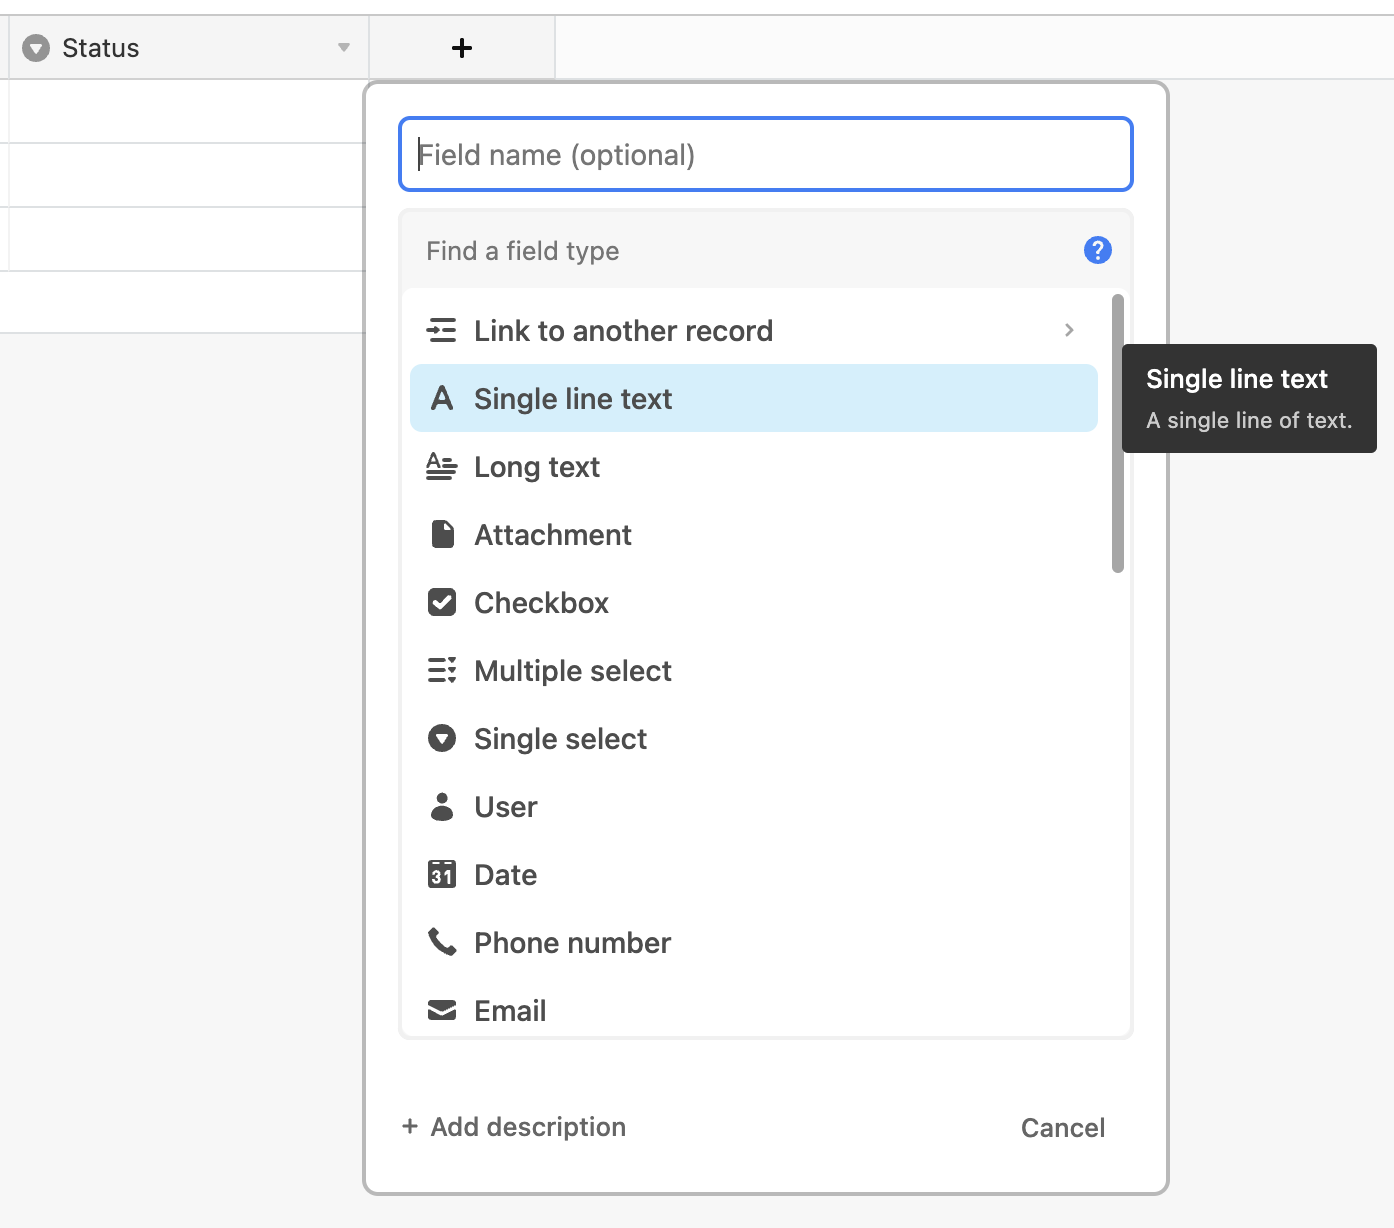
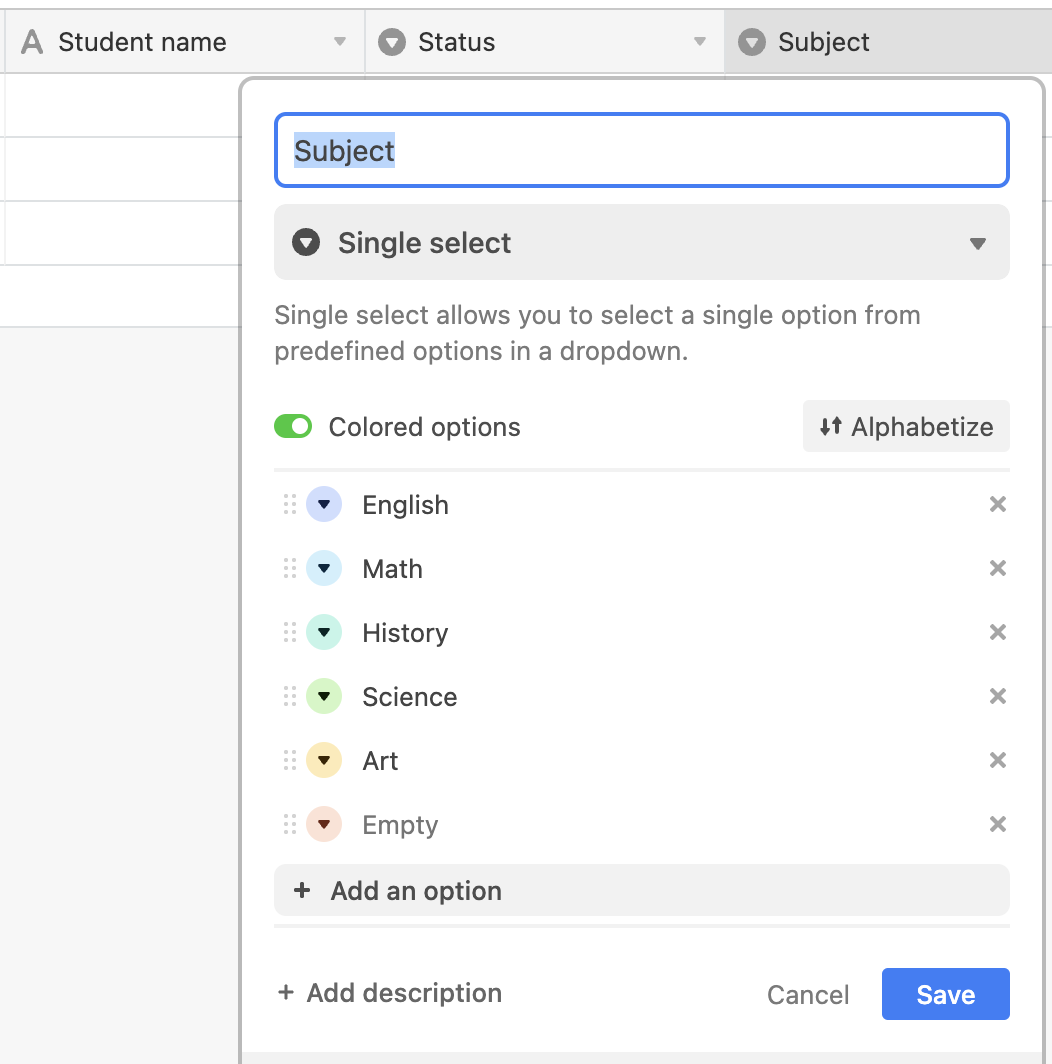
Create your database in Airtable
If you already have your base created in Airtable, you can skip this step.
Create on the lower left corner of your dashboard.
2
Connect your database to your Fillout form
On your Fillout dashboard, create a form. Choose to 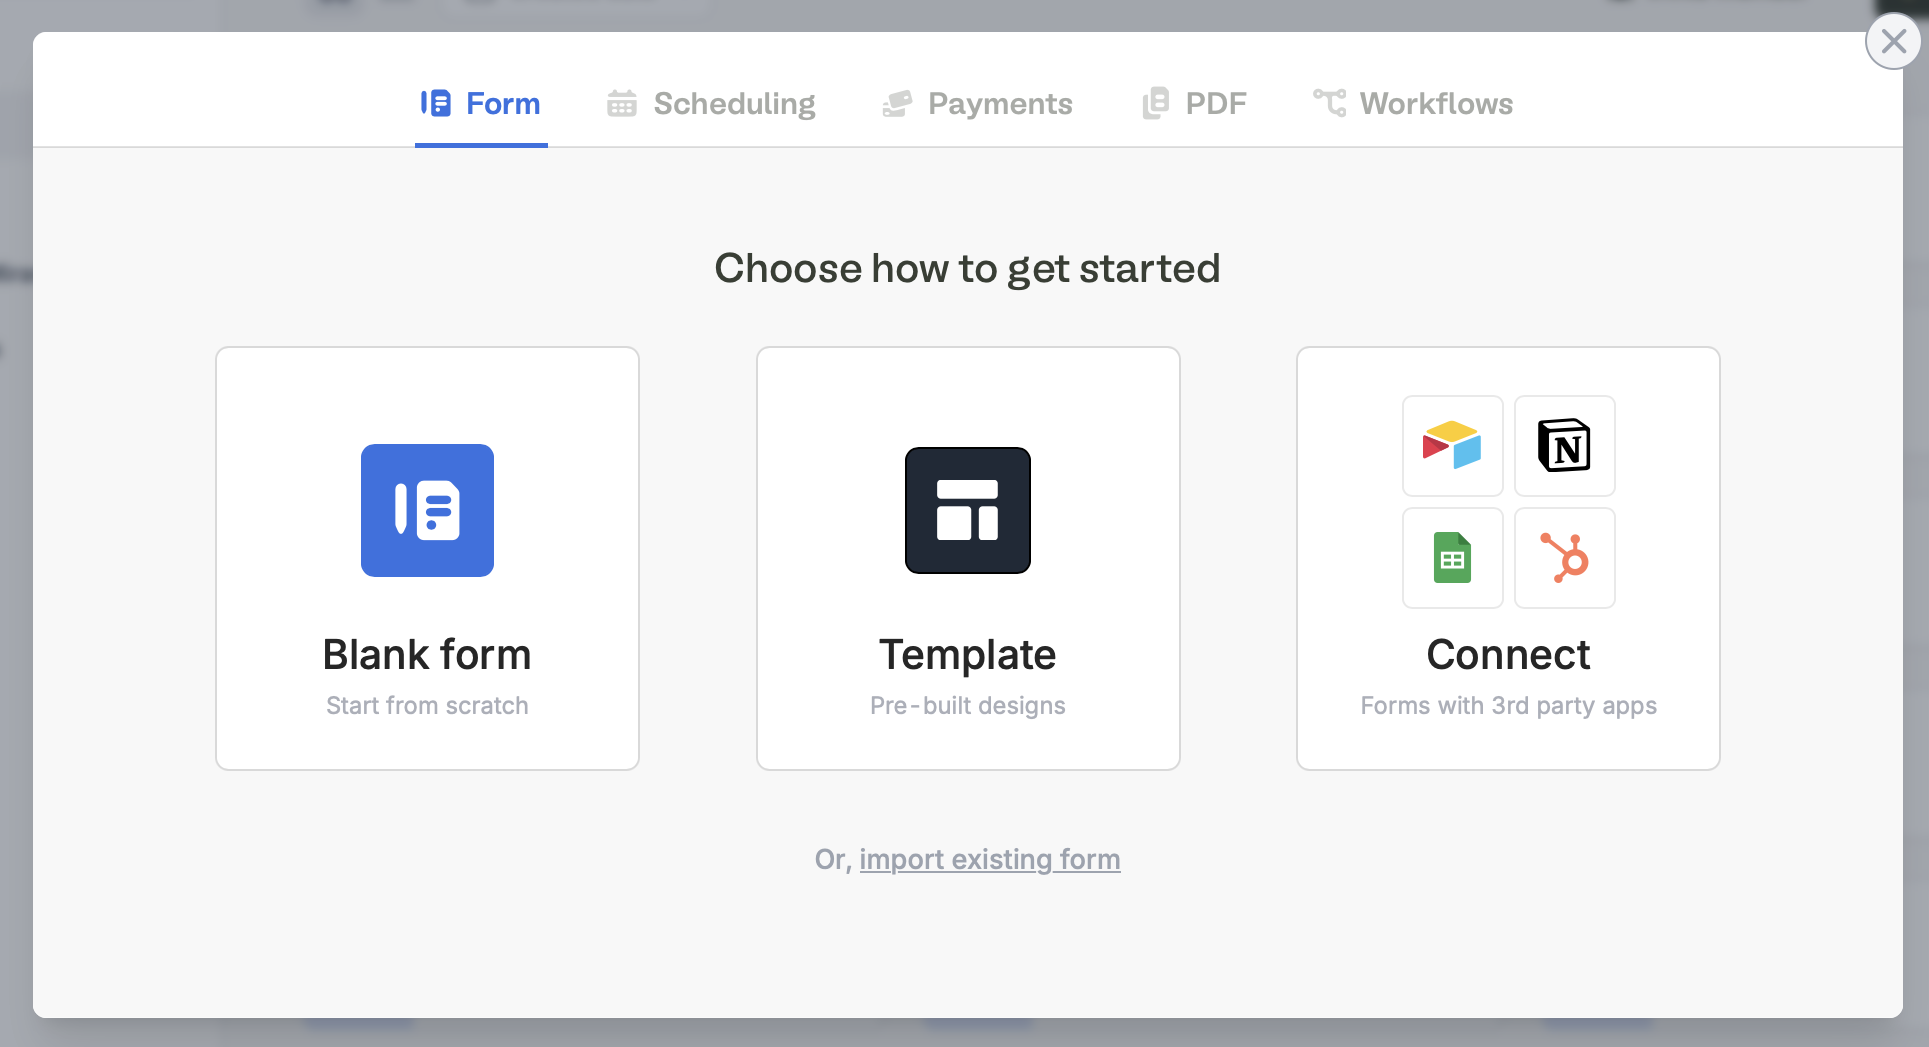
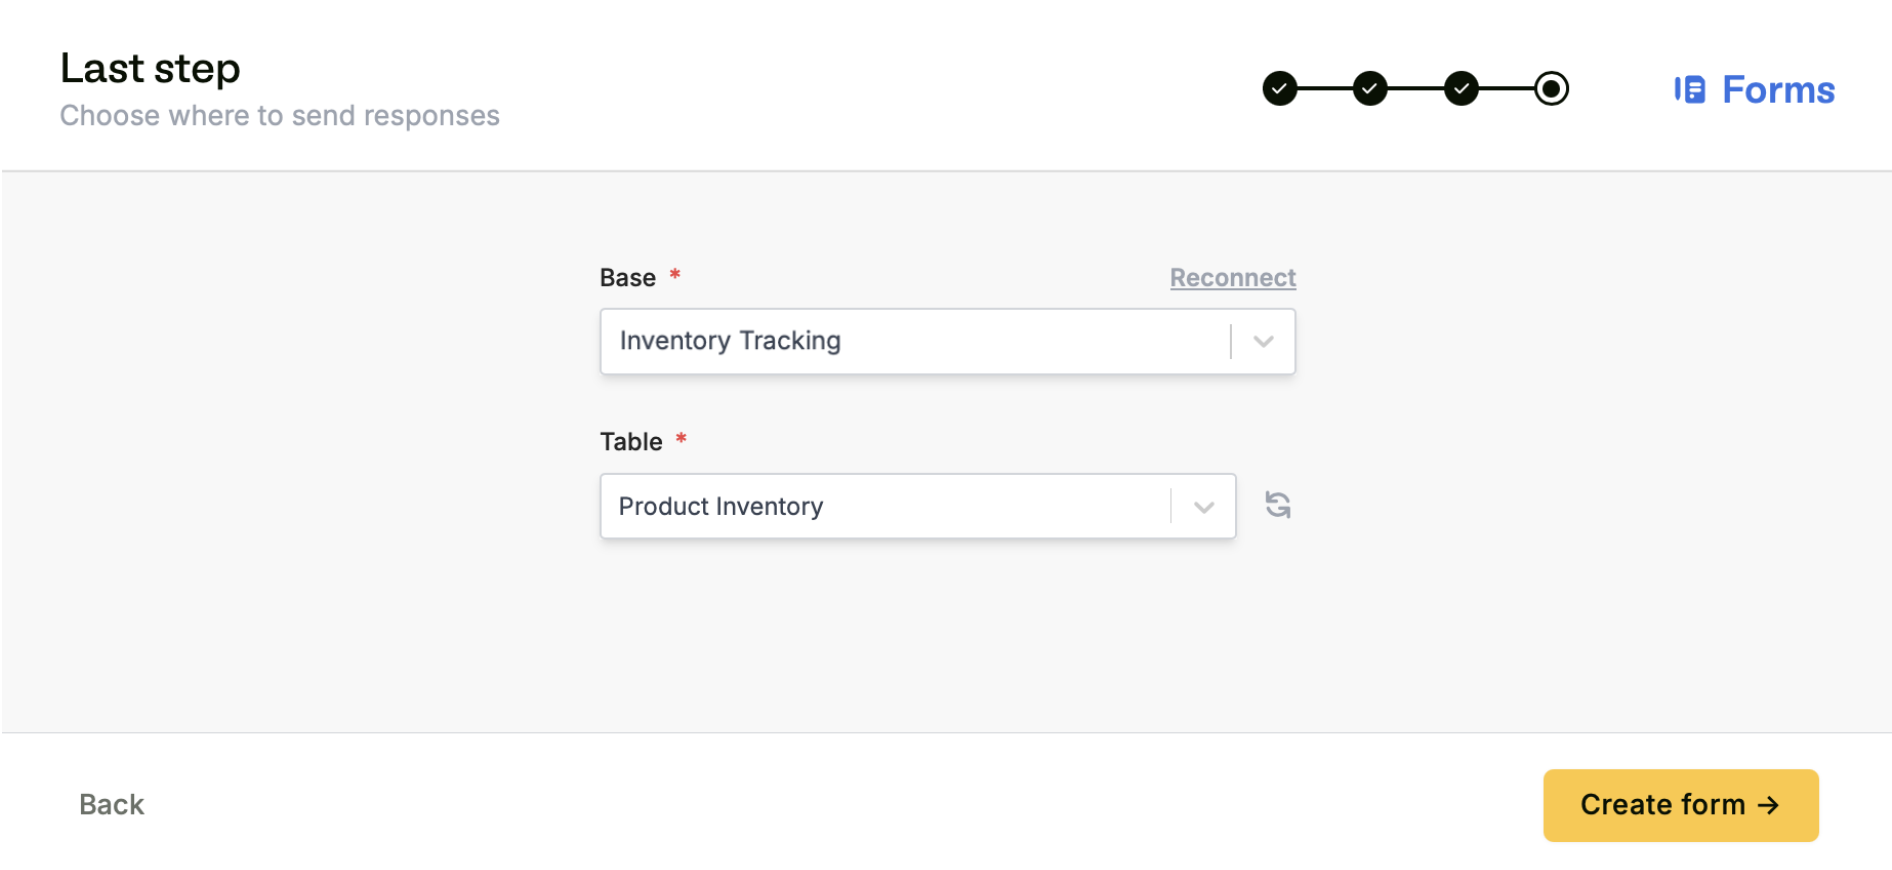
Connect to Airtable.Connect to Airtable.After connecting, you can switch to use personal access tokens via the Integrations page.
+ Create form.3
Map your questions
Fillout pulls questions and answer options from your Airtable base. Your 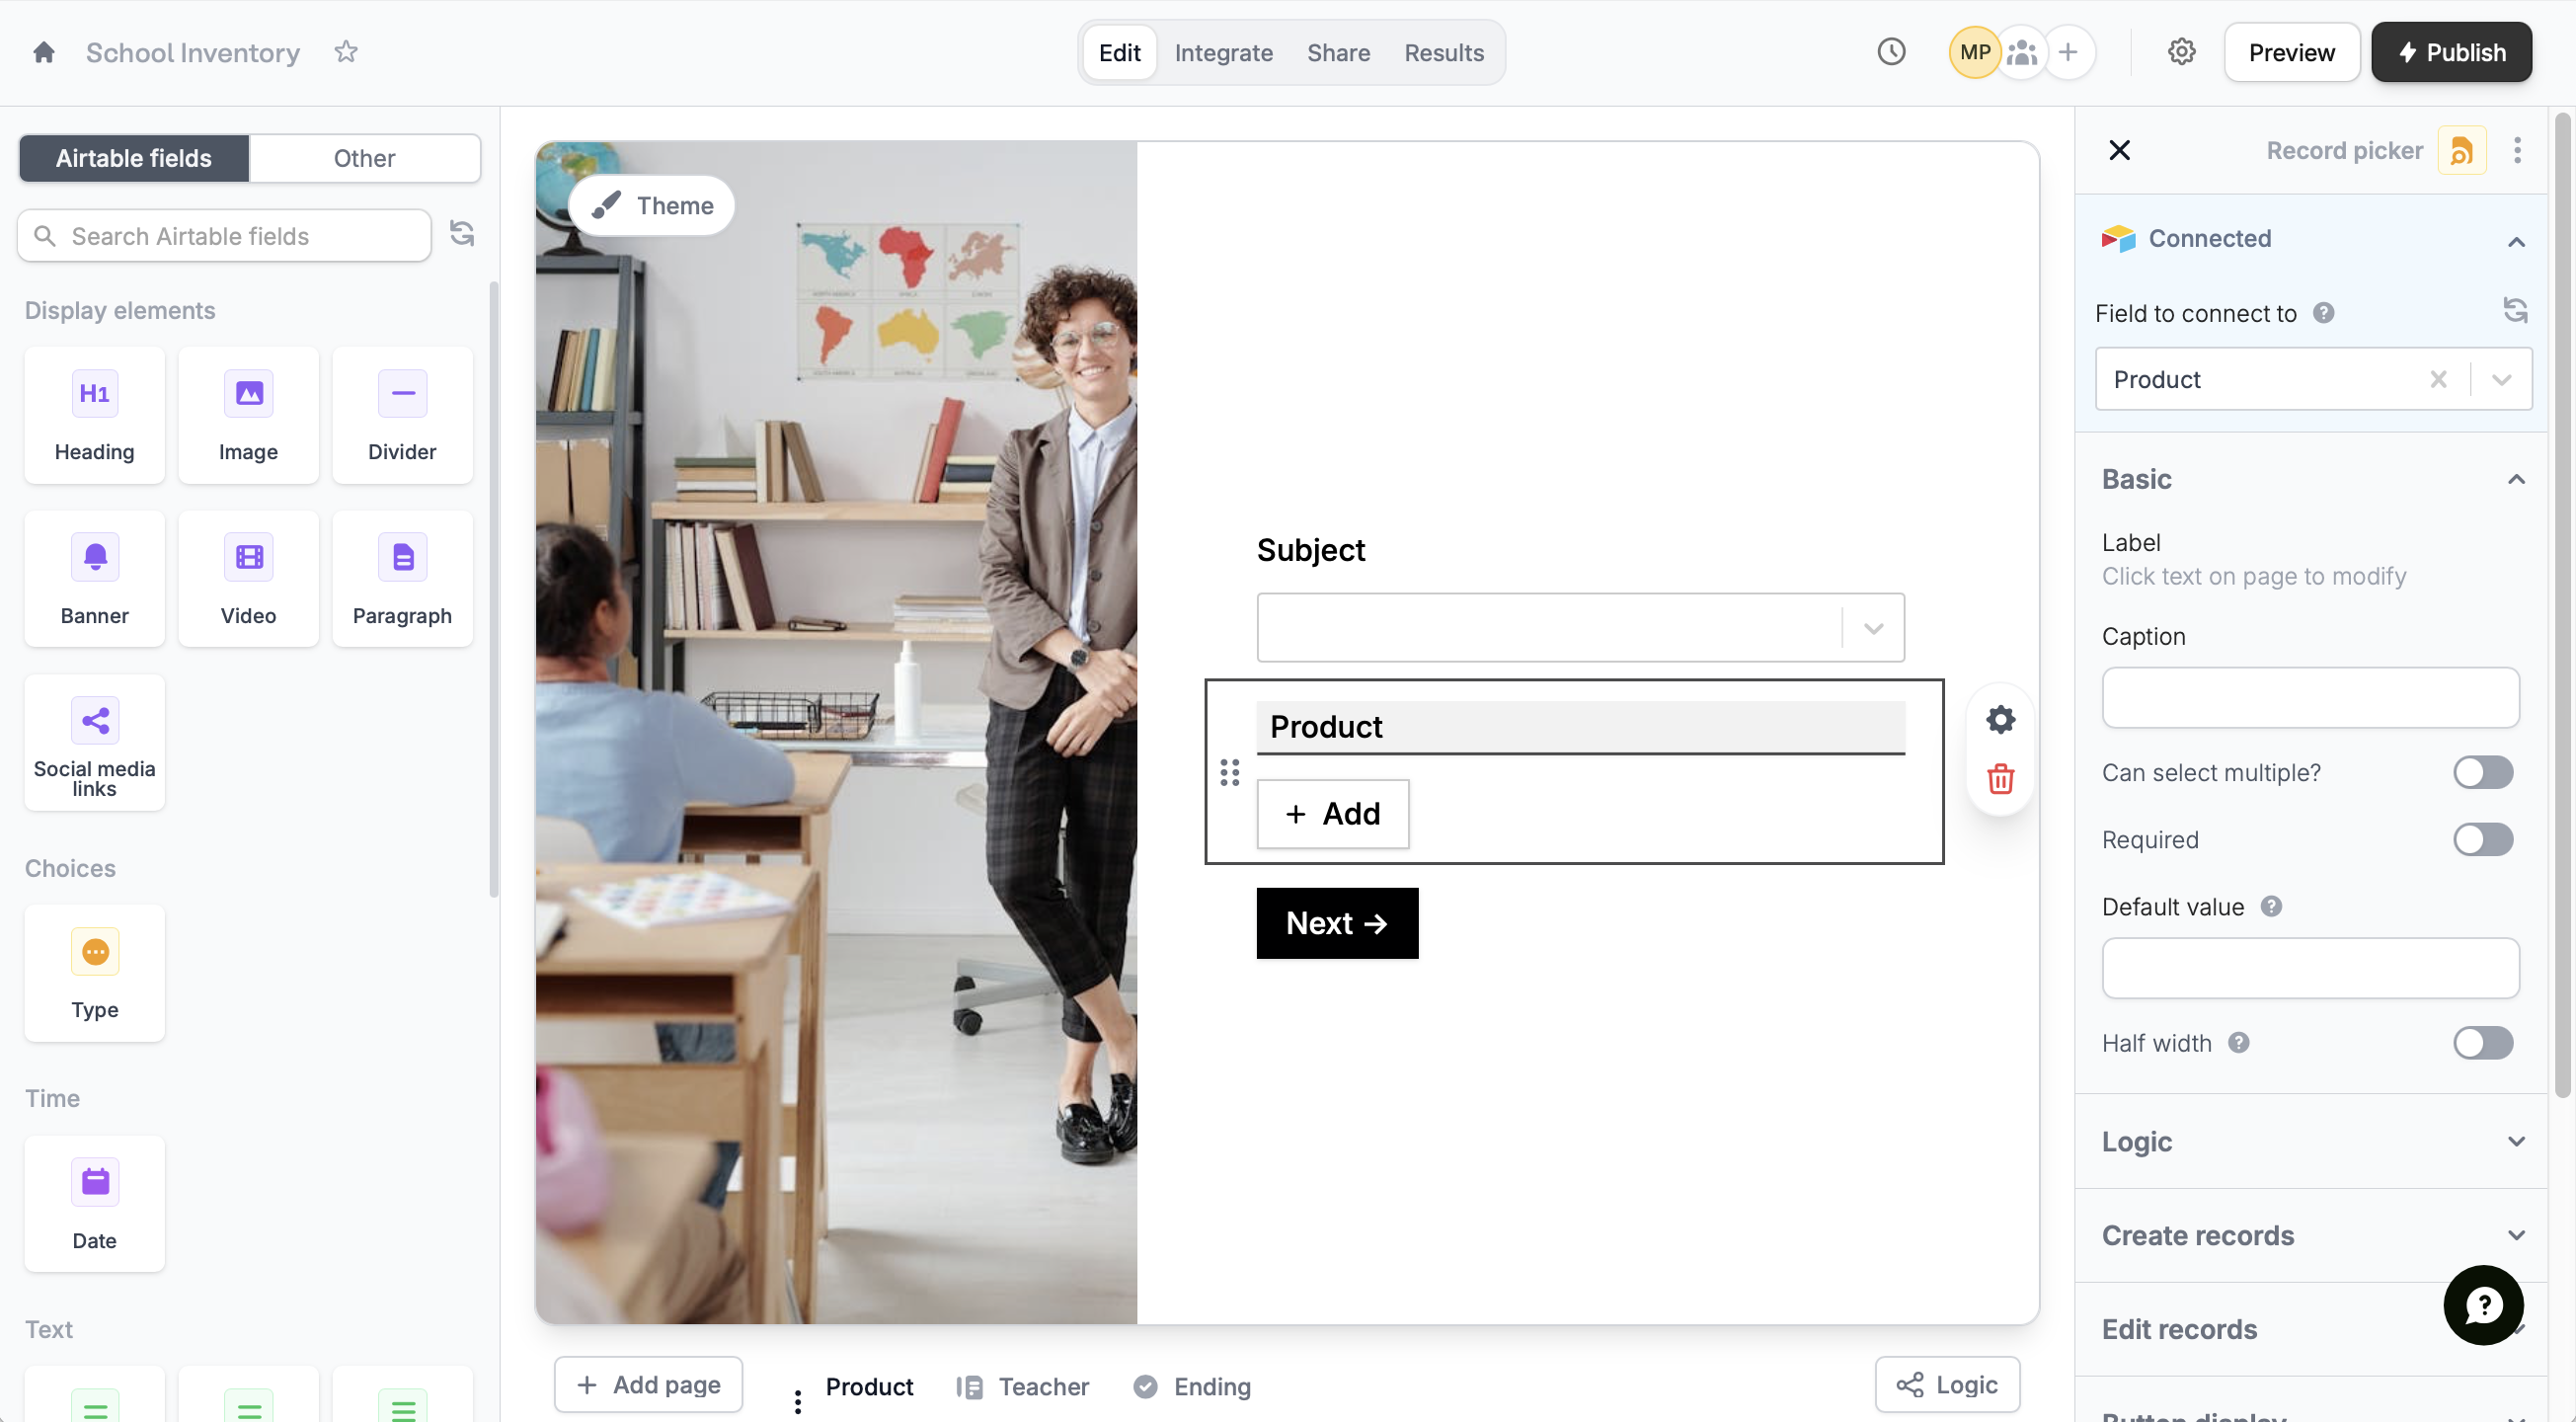
Airtable fields now appear in the left sidebar. Simply drag & drop to build your form.4
Publish & Share
Once you’ve finished creating your form, you’re ready to go! Simply
Publish and share. Form responses will now automatically populate inside your Airtable database.Specify a condition
You can run your integration only when a specific condition is met. Check out this guide.Airtable specific guides
Update Airtable records
Edit existing records and pre-fill fields.
Create new linked Airtable records
Let respondents create records from your form.
Prevent duplicates
Stop duplicate entries from being saved to your Airtable bases.