What is Notion?
Notion is one of the most popular all-in-one productivity and collaboration tools. It’s a flexible workspace for teams and individuals to create and organize notes, documents, databases, and task lists.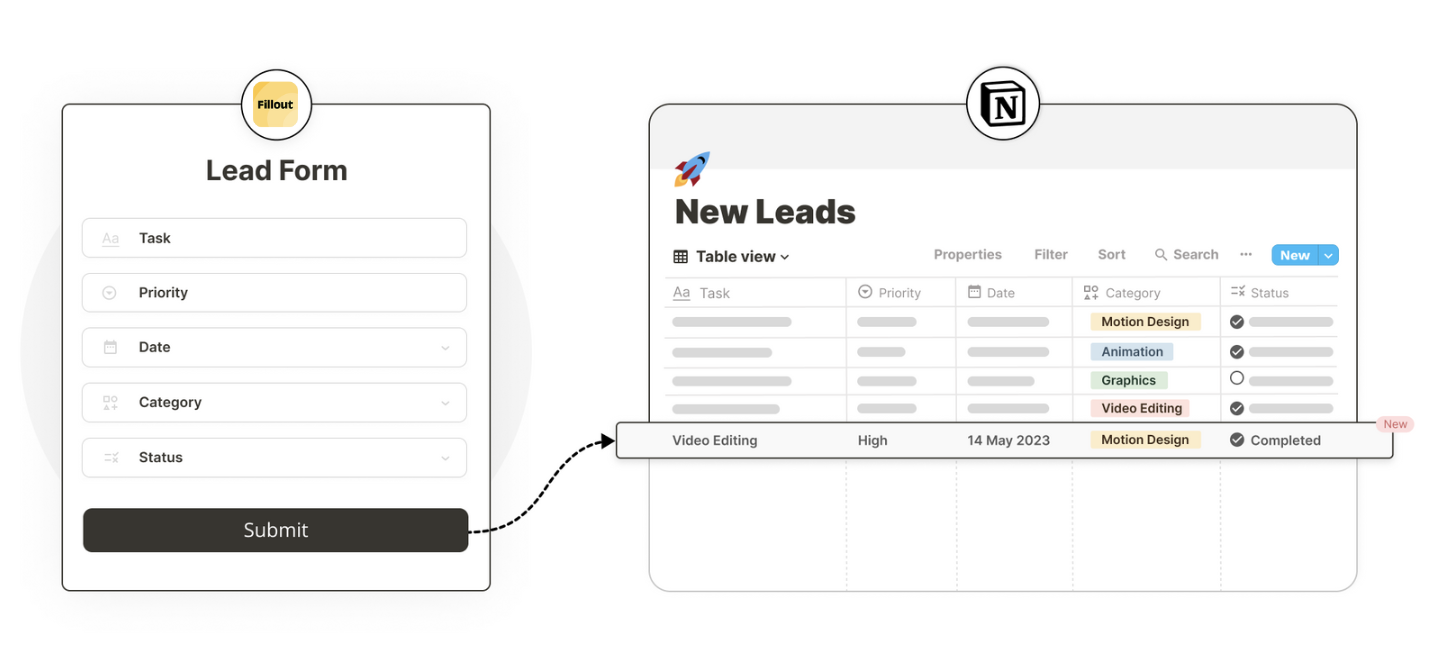
Video tutorial
How it works
Create your database in Notion
If you already have your database created in Notion, you can skip this step.
/database. Name your database and add a column for each question. Set the property type and, if using Select or Multi-select, enter the answer options.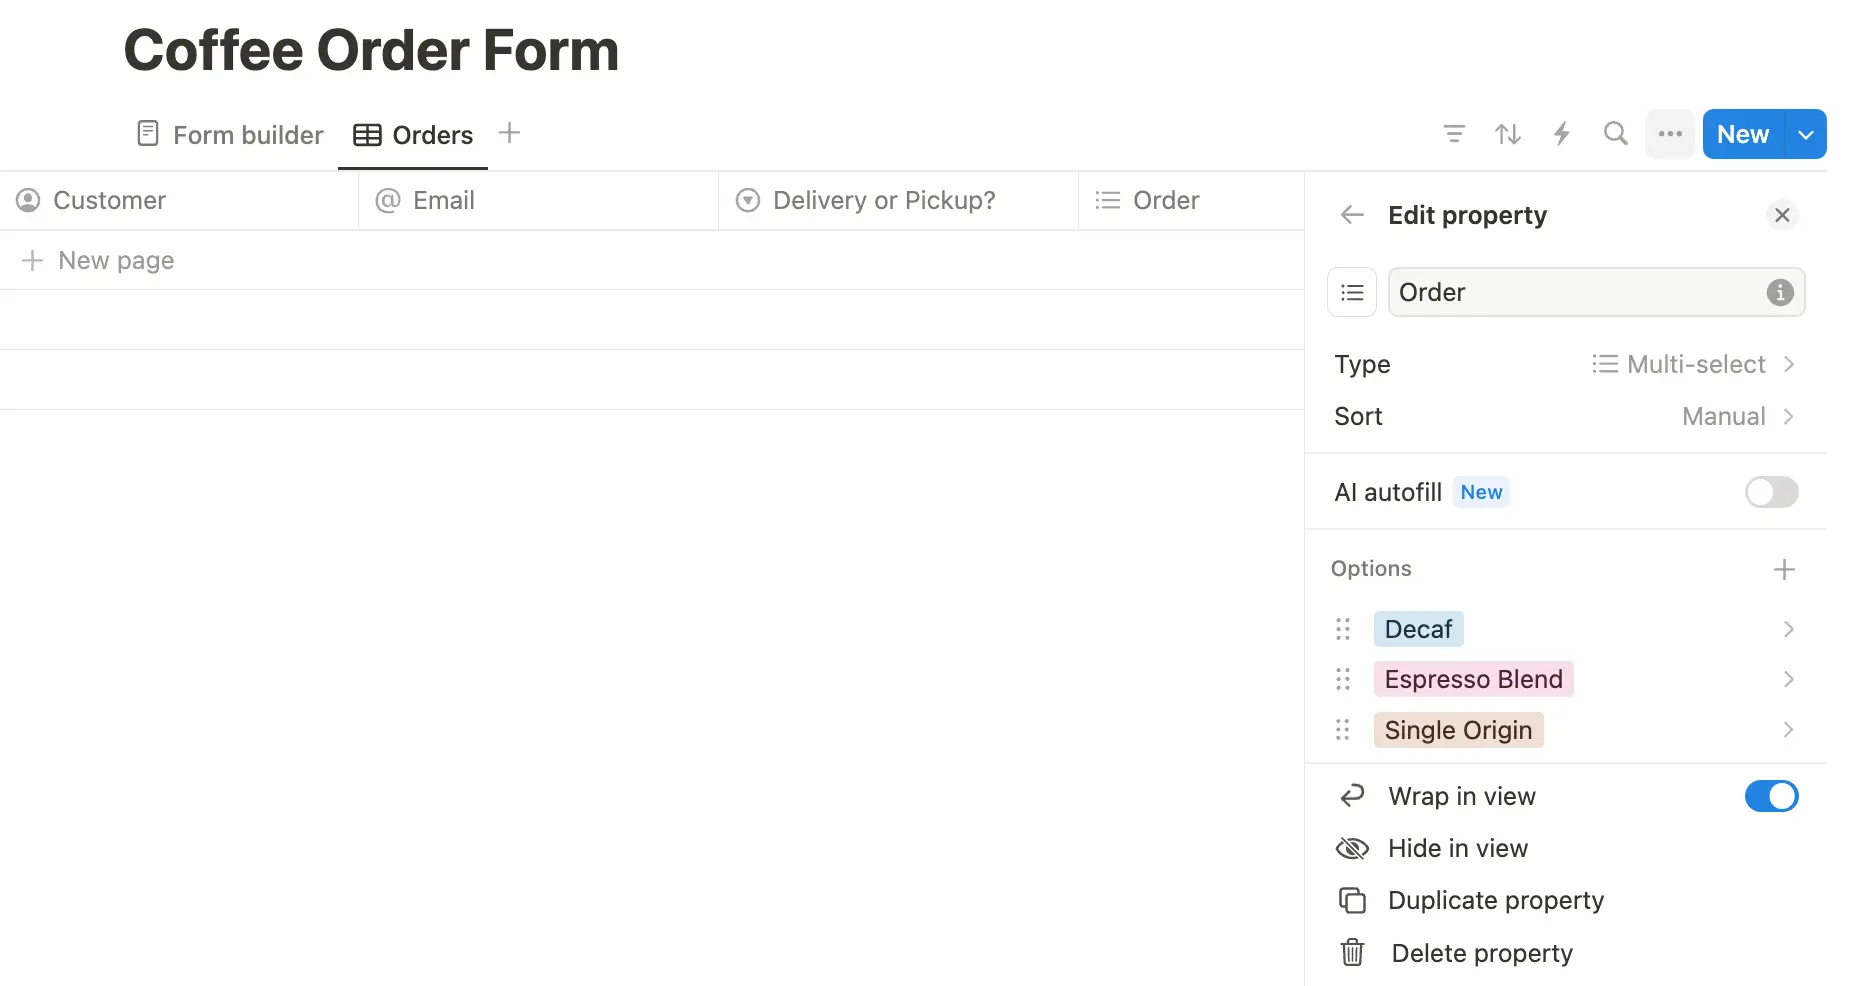
Connect your Fillout form to Notion
On your Fillout dashboard, create a form. Choose to 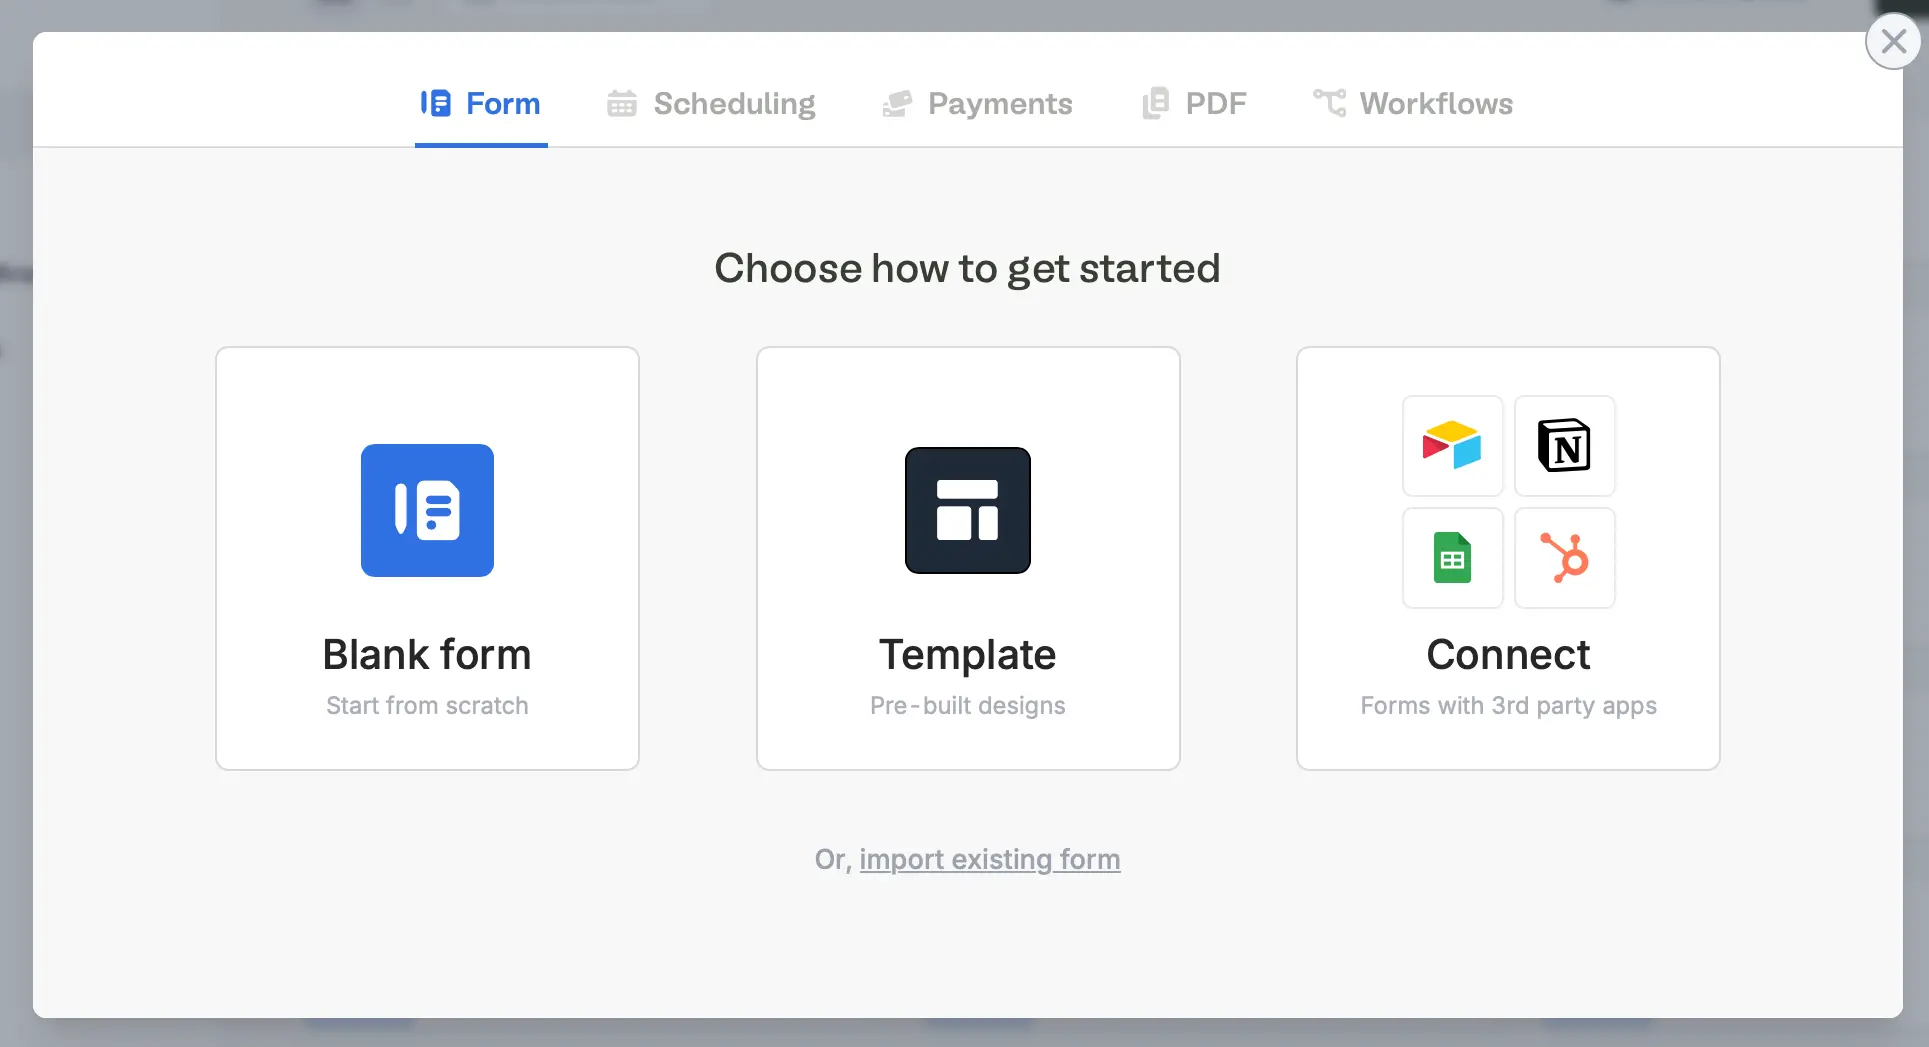
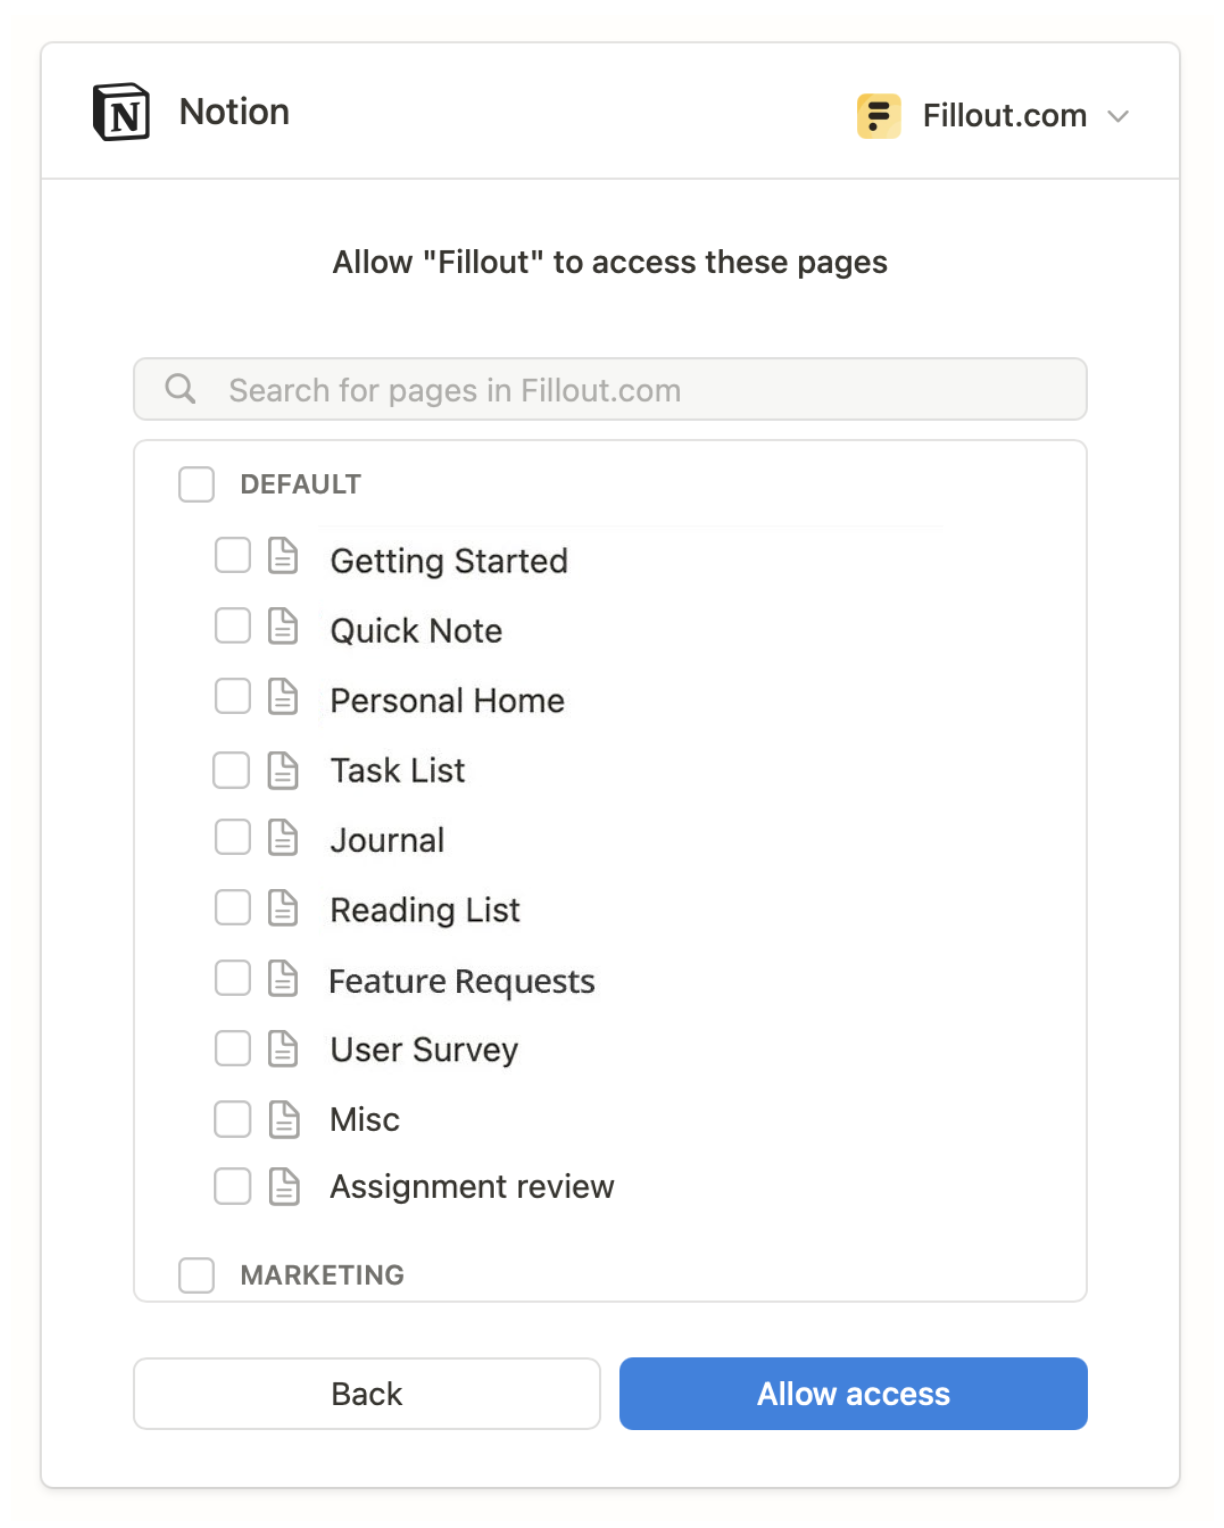
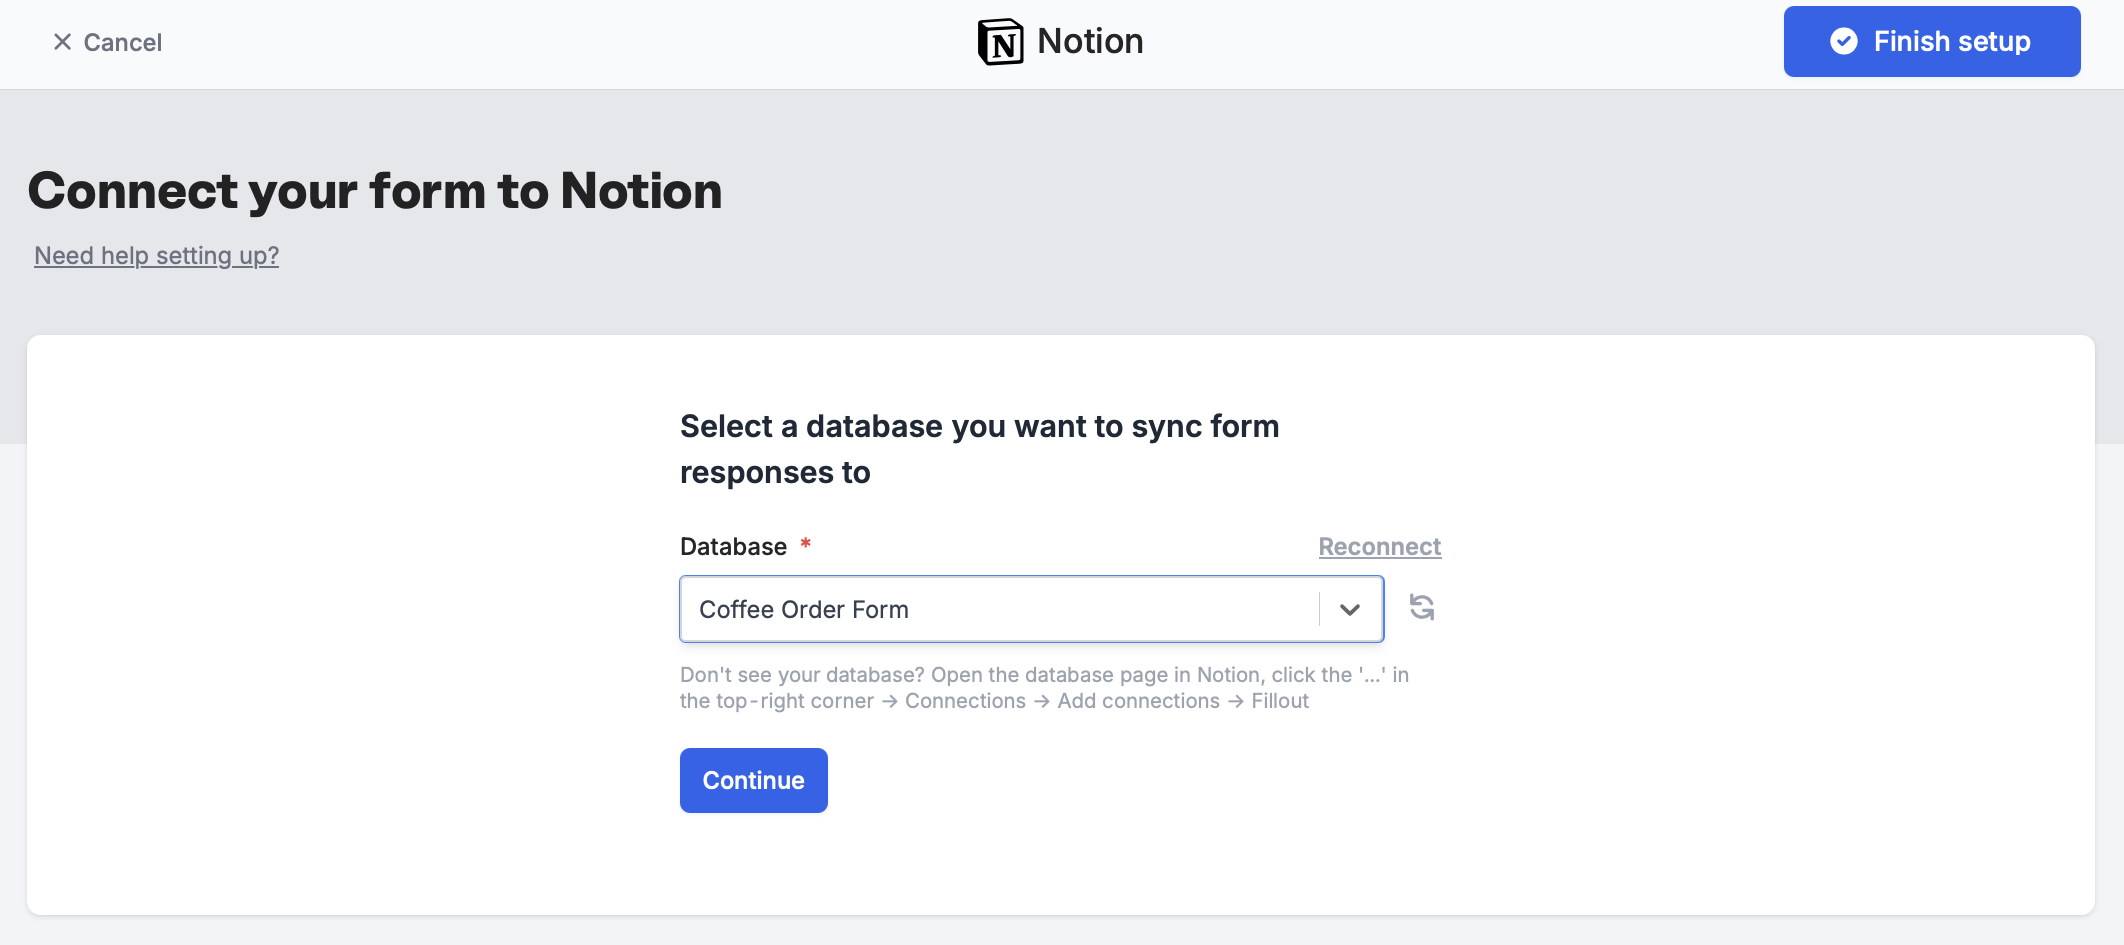
Connect to Notion.Connect to Notion.Select pages you’d like to allow Fillout access to. You can add and remove pages to this integration anytime in your Fillout dashboard.Map your questions
Your 

Notion Columns now appear on the left-hand panel of your Fillout form editor. Simply drag and drop to start building your form.Integrate page.You can also add content to the body of a Notion page. See this help article.Specify a condition
You can run your integration only when a specific condition is met. Check out this guide.Notion specific guides
Update existing Notion pages
Edit existing pages and pre-fill fields.
Add content to a Notion page
Use a Fillout form to add styled content.
Embed forms on Notion
Include surveys, quizzes, and more.