How to add a voice recording field
On the left-hand panel of your form, clickVoice recording. Then, type your question or instruction.
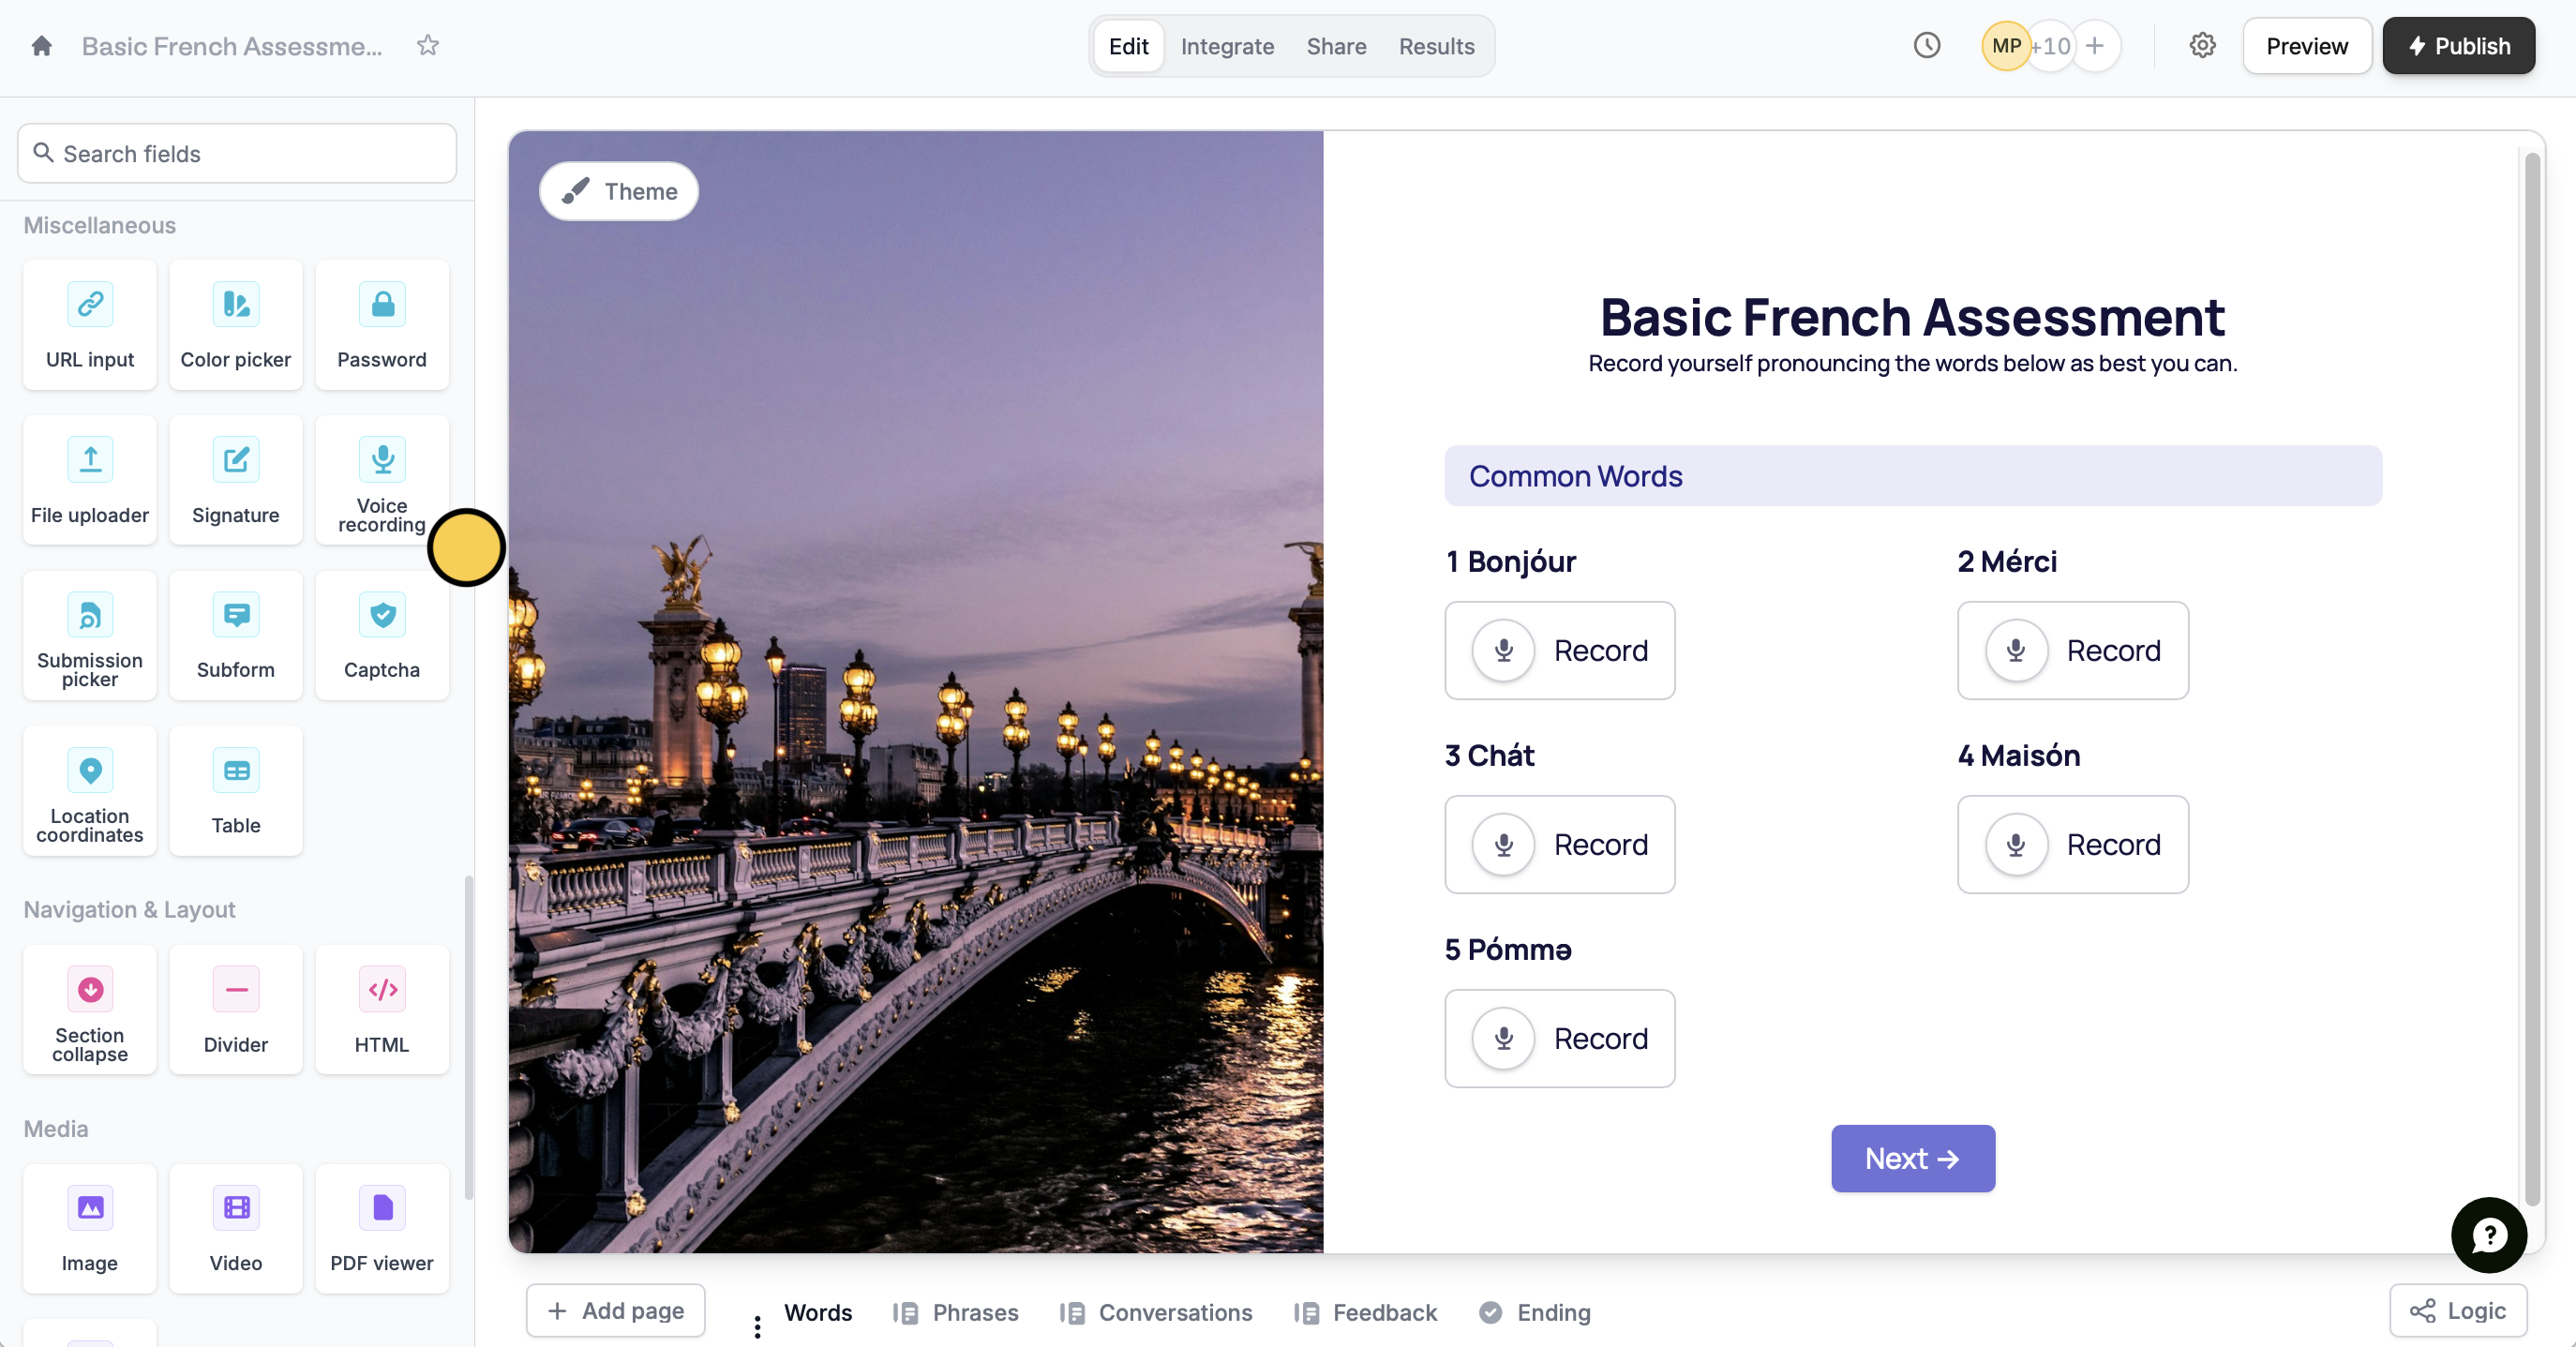
Publish your form and share the link to your respondents.
Upload limits
Voice recording limits match your plan’s file upload allowance, as long as usage is within our fair use policy.| Free | Starter | Pro | Business | Enterprise | Team | |
|---|---|---|---|---|---|---|
| Max recording size per upload | Up to 20 MB | Up to 20 MB | Up to 20 MB | Up to 1 GB | Up to 5 GB | Up to 1 GB |
| No. of file recordings allowed | Unlimited | Unlimited | Unlimited | Unlimited | Unlimited | Unlimited |
Why There’s No Fixed Time Limit
The length of a recording in minutes is variable because the final file size depends on multiple factors including but not limited to:- Audio quality – higher quality (higher bitrate, sample rate) produces larger files for the same duration
- background noise & complexity – Recordings with more complex sounds can result in slightly larger file sizes than simple voices.
Enable auto-transcribe
Click the of your question to open the right-hand panel. Under AI Transcription, toggle theEnable transcription switch.
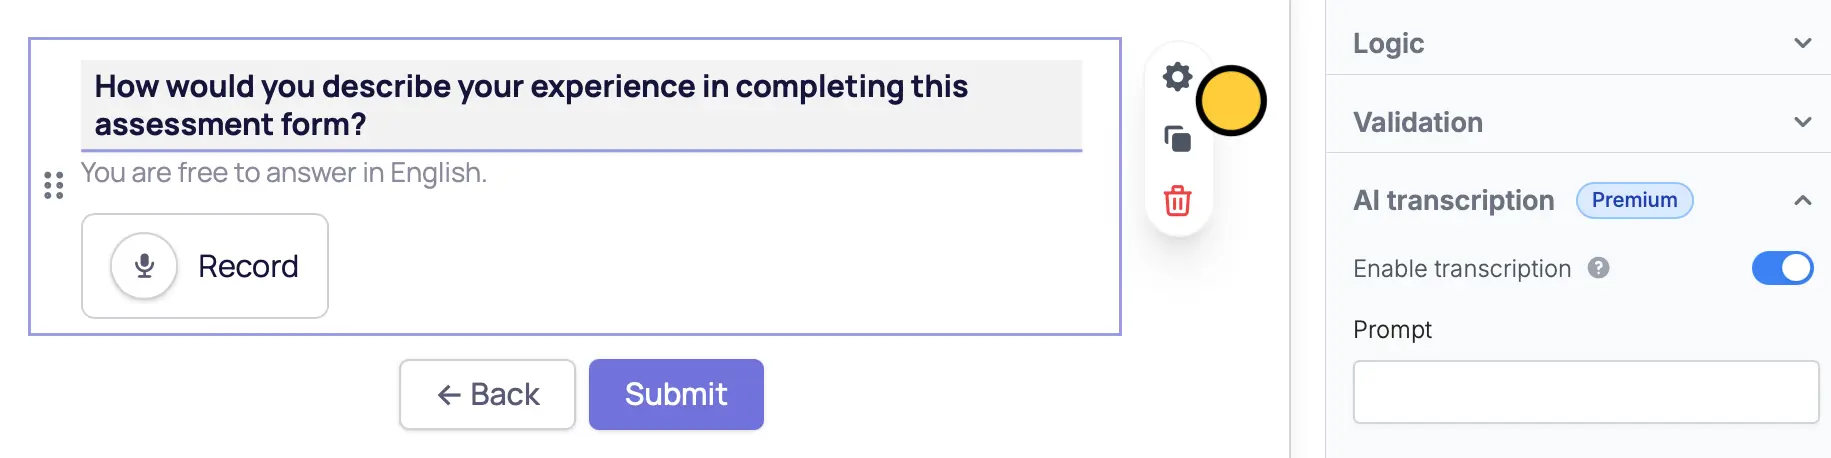
This feature is available to Business and Enterprise users via OpenAI. For more details on pricing, click here.
Referencing voice recordings
Both audio files and written transcriptions can be used in your preferred integration when mapping fields. You can also set up logic to show only relevant pages based on your respondent’s answers.Respondents can listen to their voice recordings while filling out the form and view transcripts. They can also pause, delete, or make new recordings, and edit transcripts if needed.
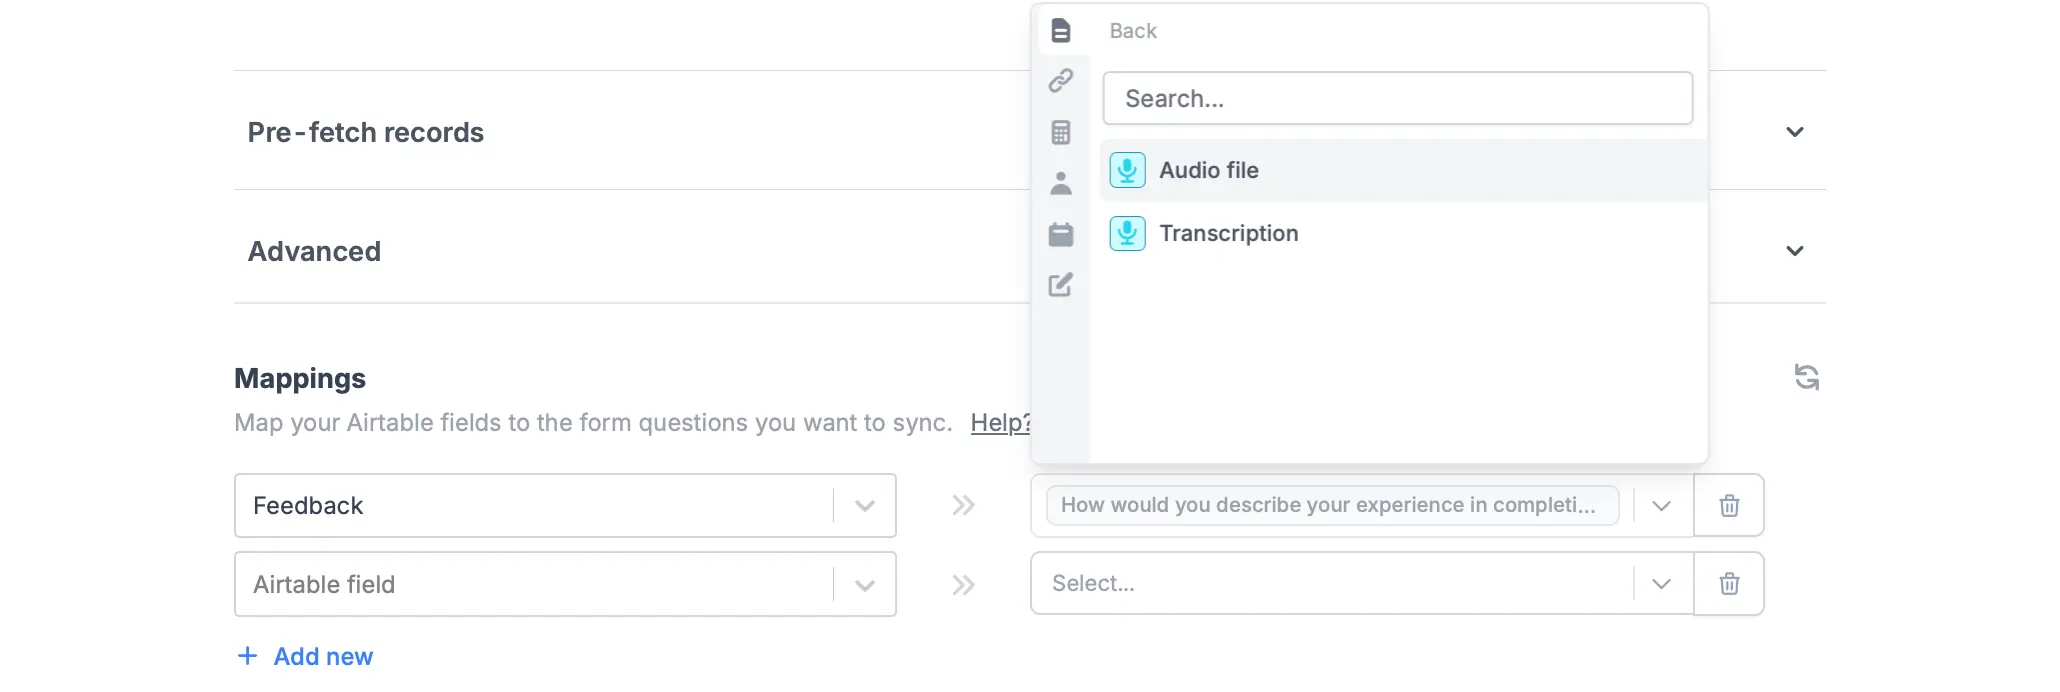
Mapping to Airtable, Notion and other databases
Select an integration
Click
Integrate in top menu and choose Airtable, Notion or another database.Add a Voice recording field
Click
Edit in the top menu. In the left-hand panel under Other, click Voice recording.