

View and edit existing connections
1
Navigate to Integrations
From the dashboard, click your 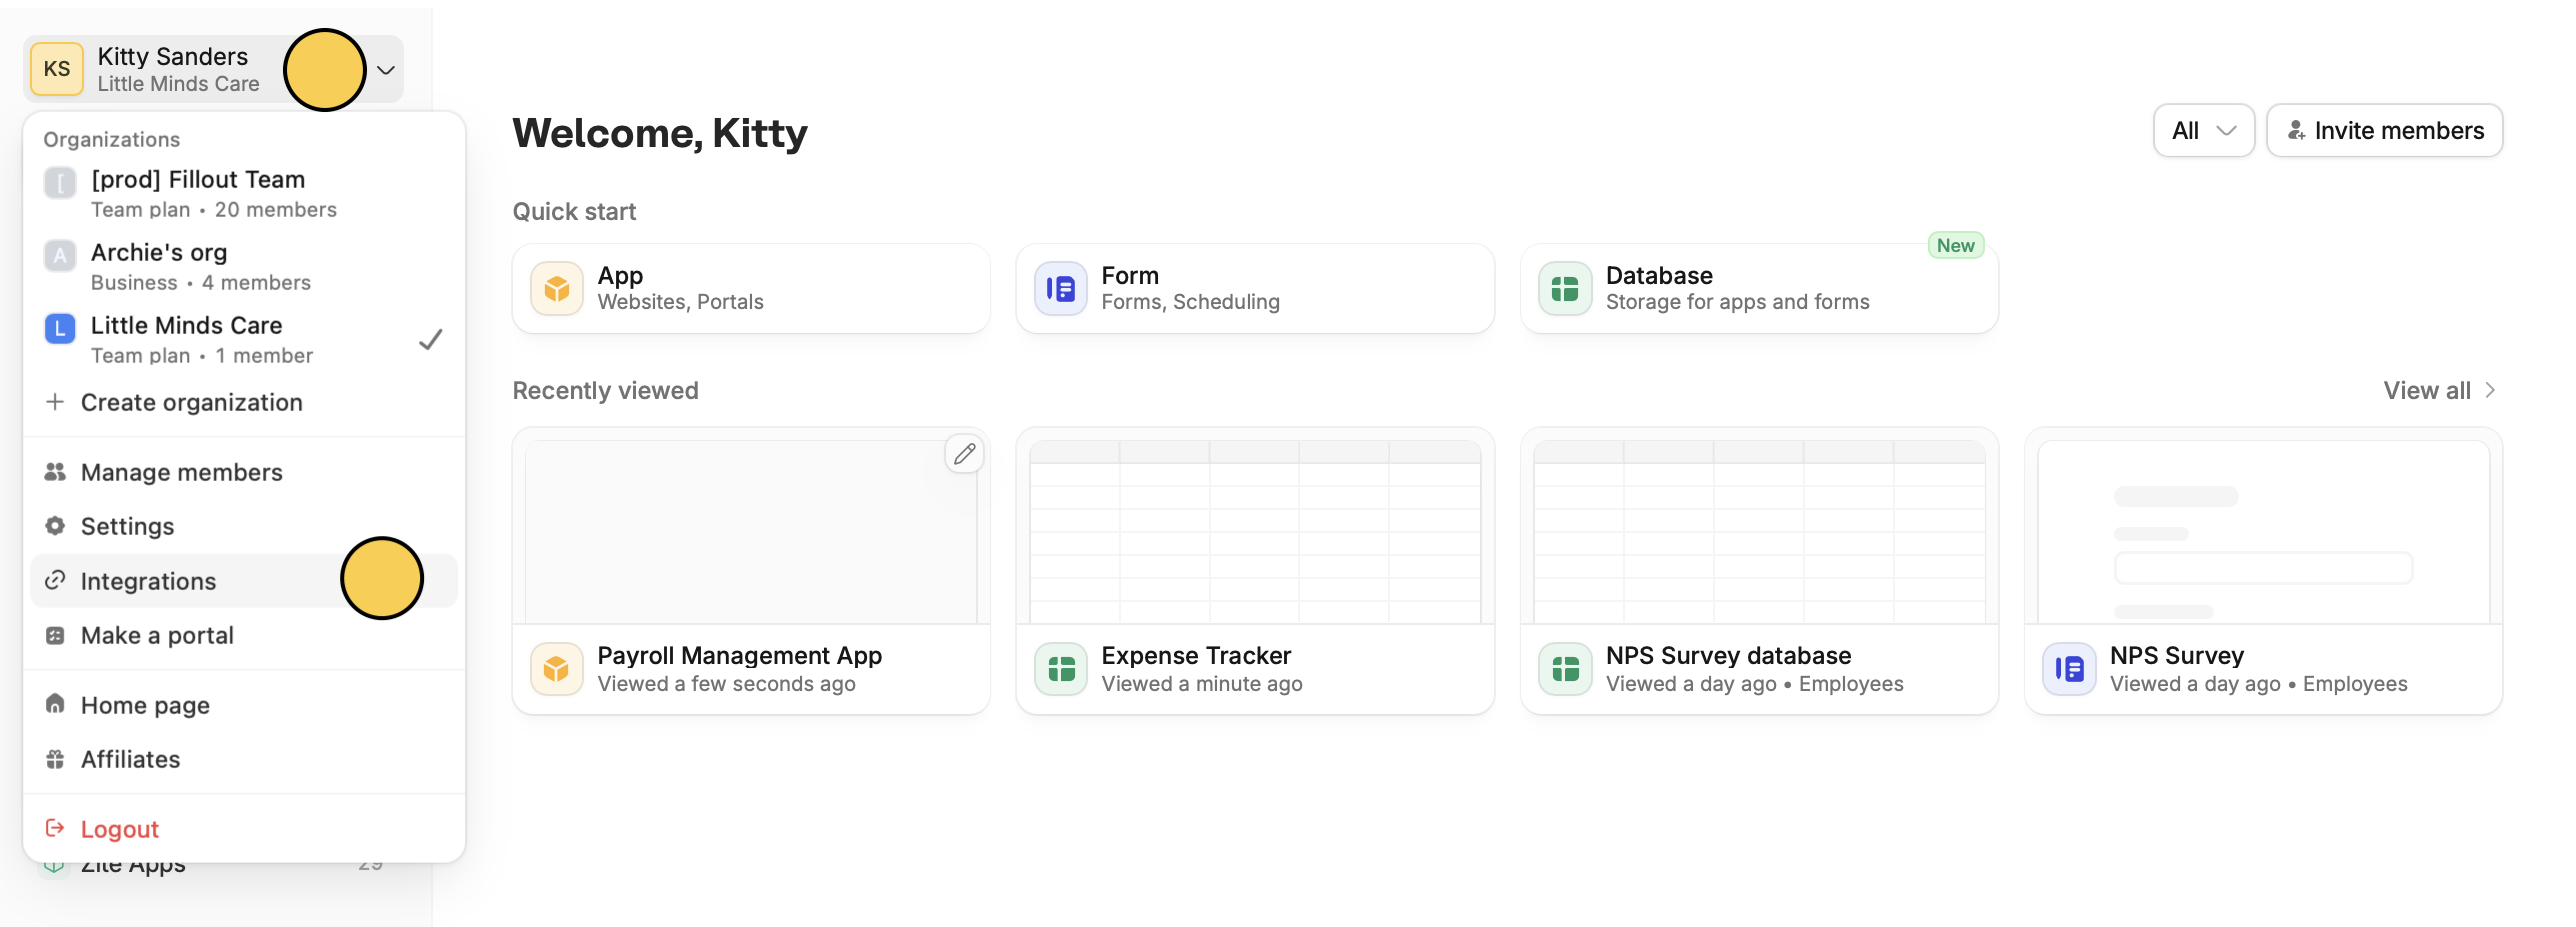
Account name followed by Integrations in the dropdown menu.2
View connection details
Click any connection to see its name or display label, the user who connected it, its status, and which forms and/or apps it’s used in.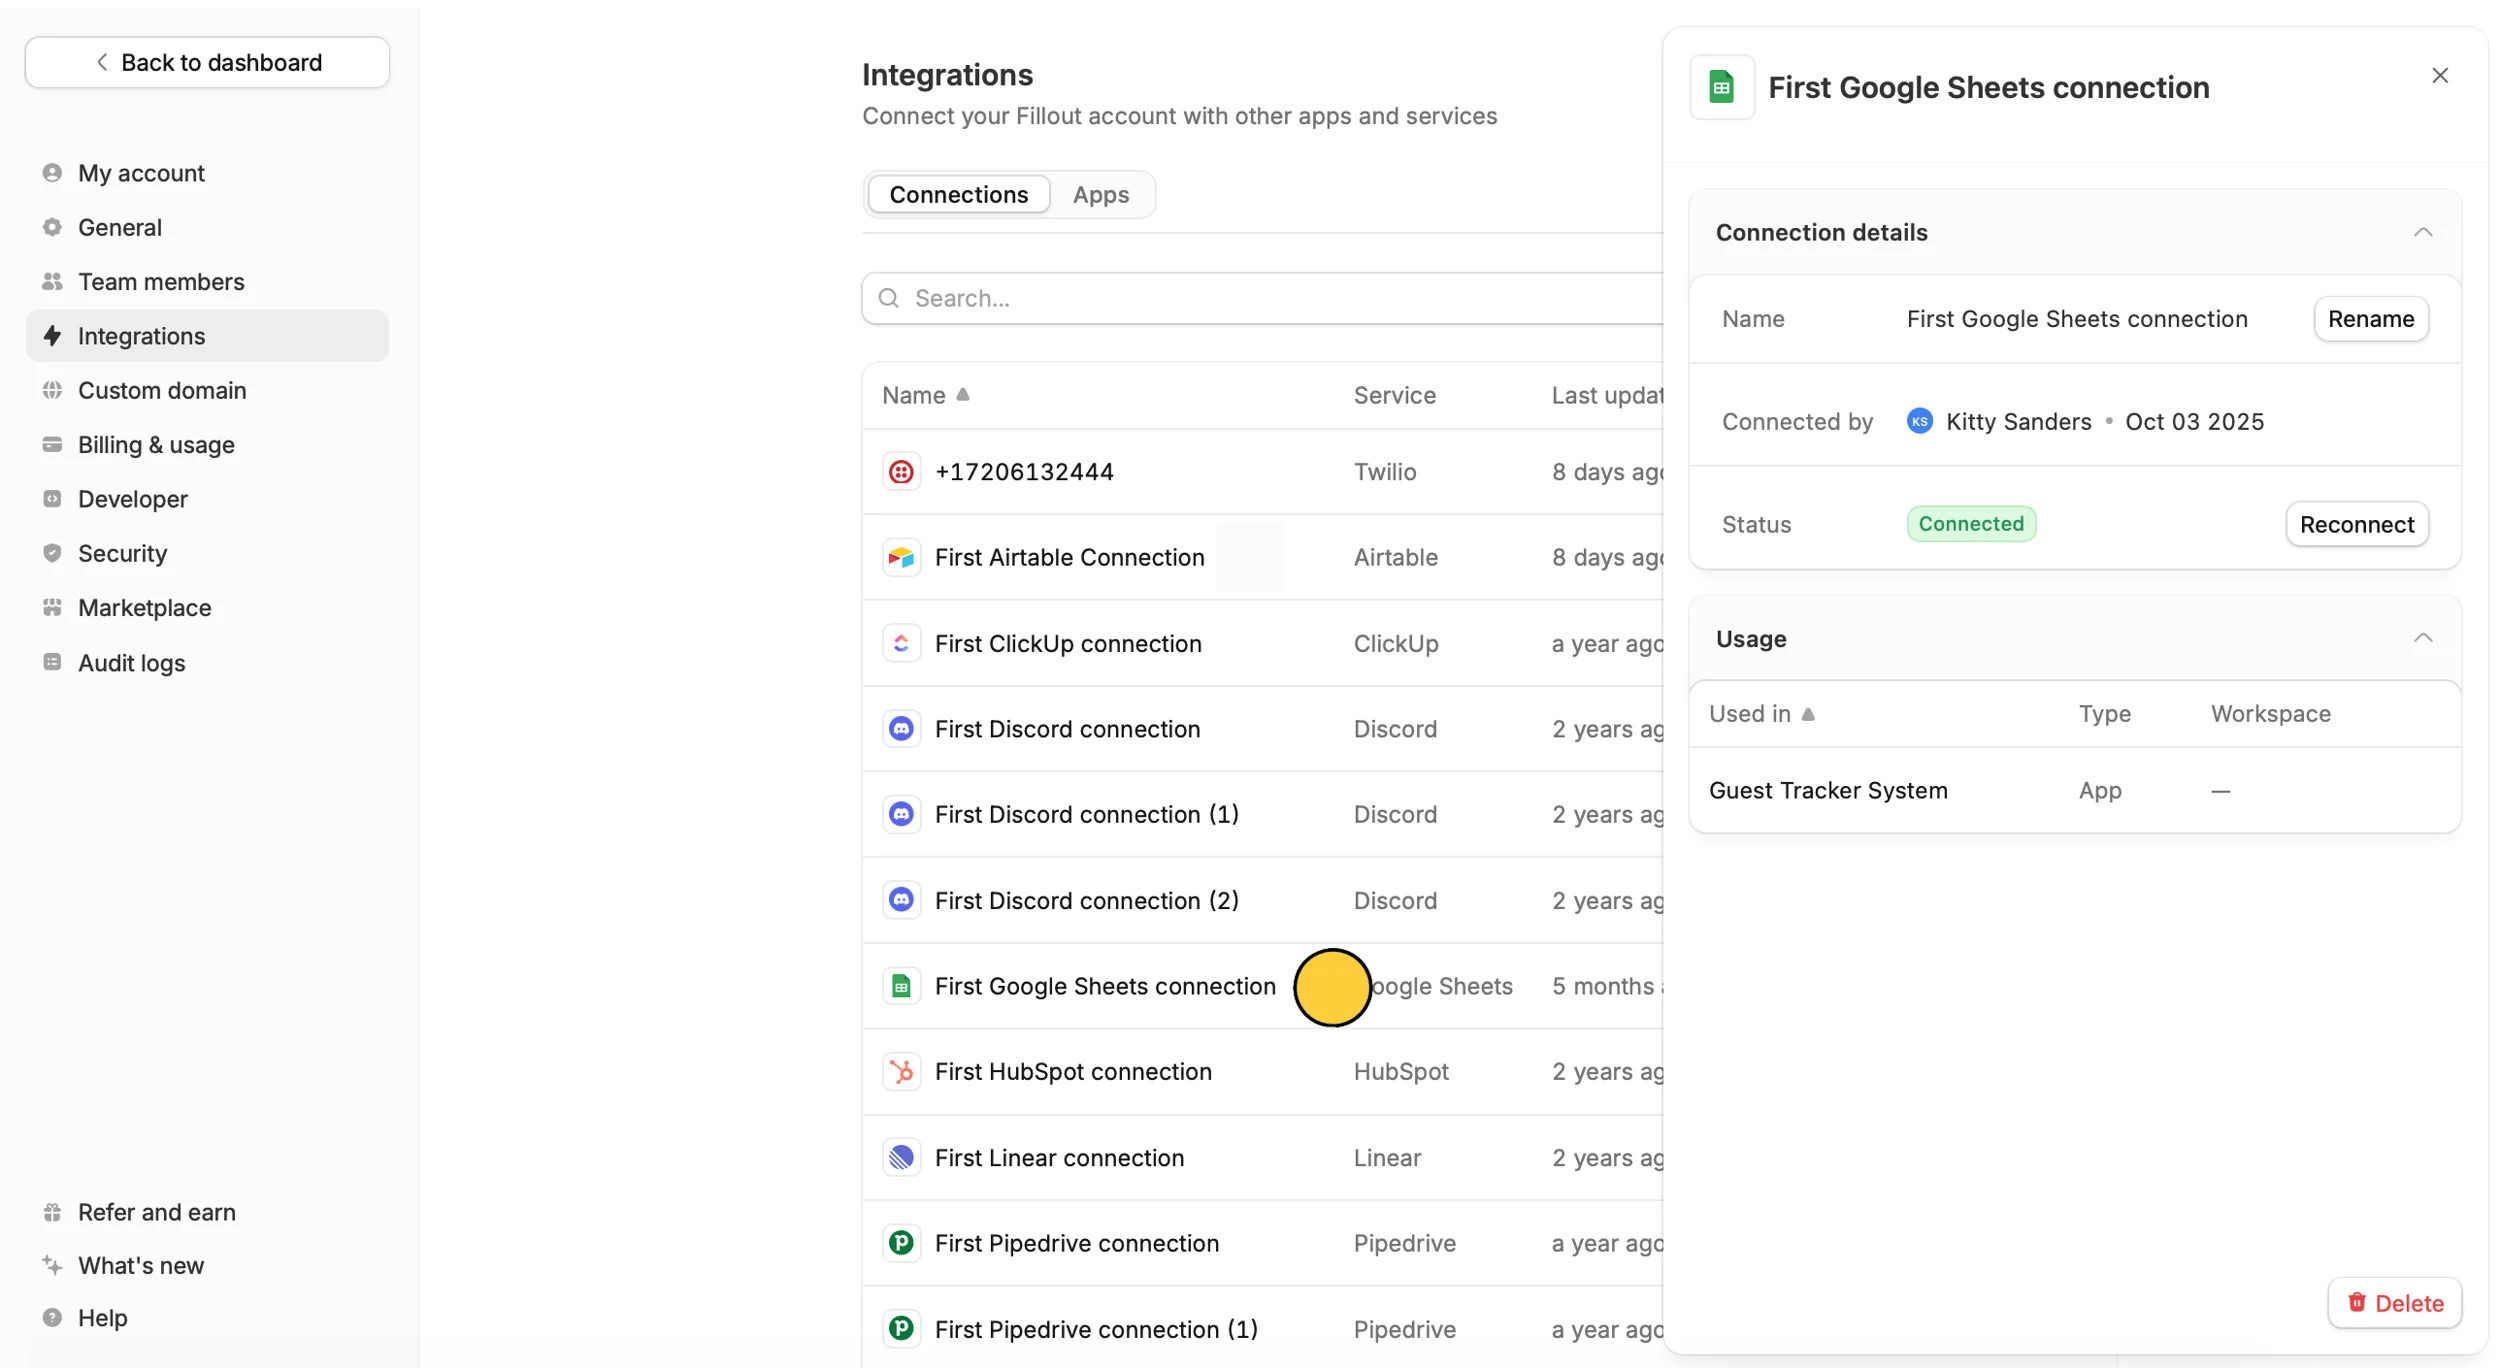
Understanding the status
This indicates the current state of your integration connection:- Connected: The integration is successfully connected, and we were able to verify its connection with the external service in real time. Currently, Slack, Microsoft Teams, Google Sheets, Google Drive, Google Calendar, Notion, HubSpot, and Airtable support real-time verification.
- Configured: The integration has been authenticated and is ready to use. For some integrations, we aren’t currently able to verify the connection in real time, so the status displays Configured instead of Connected. This does not indicate a problem—the integration should still work as expected.
- Disconnected: The connection is no longer valid, usually because the authorization has expired or was removed. Reconnecting the integration should restore functionality.
3
Edit connection
If you have multiple connections for the same integration, it helps to 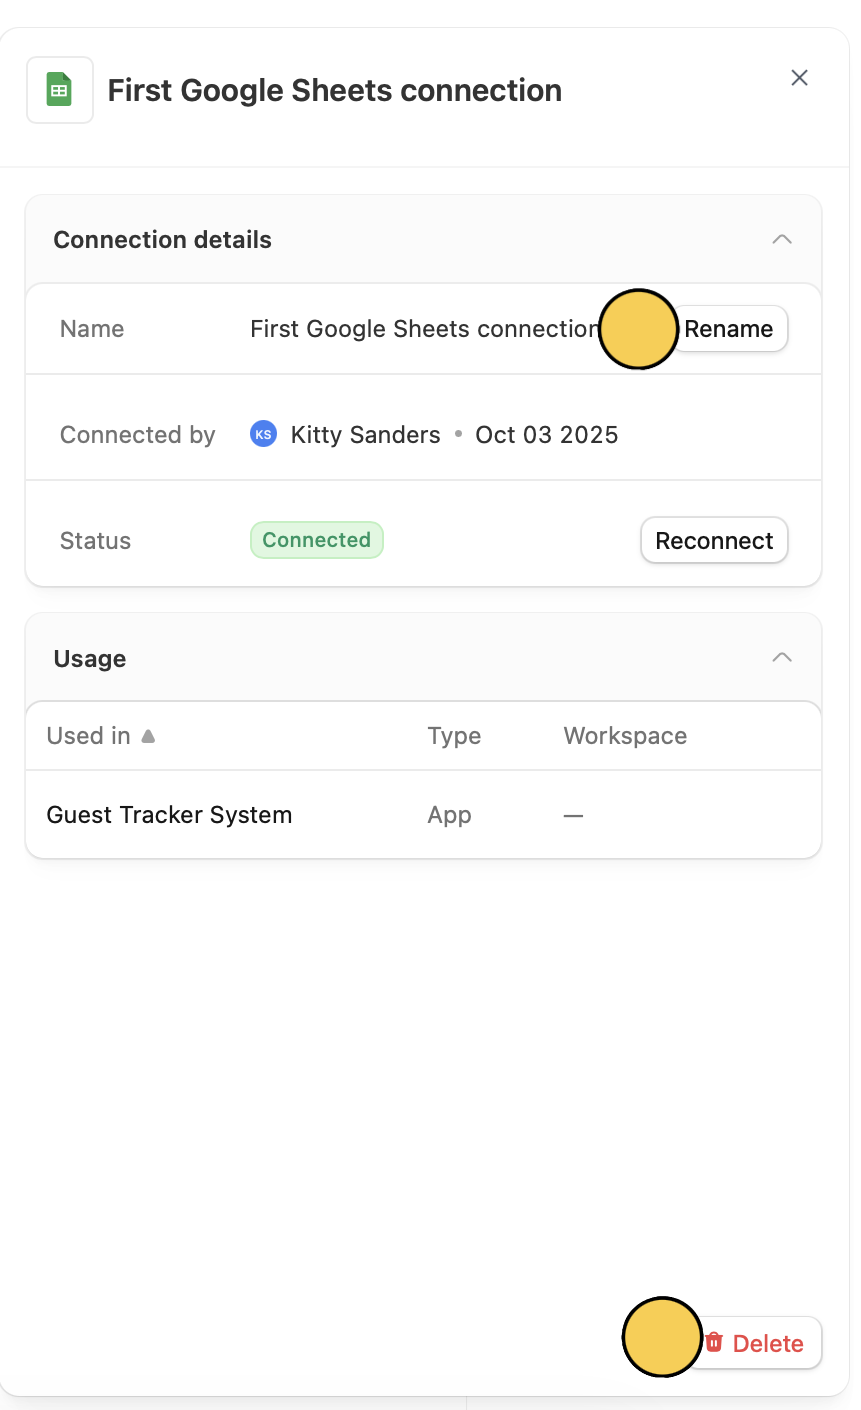
Rename them so you can easily tell them apart.Reconnect and Delete here.Limit workspace connections
You can restrict connections to certain workspaces only. This is helpful if you have clients, partners, or team members with granular permissions in a specific workspace.1
View connection's workspaces
On your chosen connection’s row, click 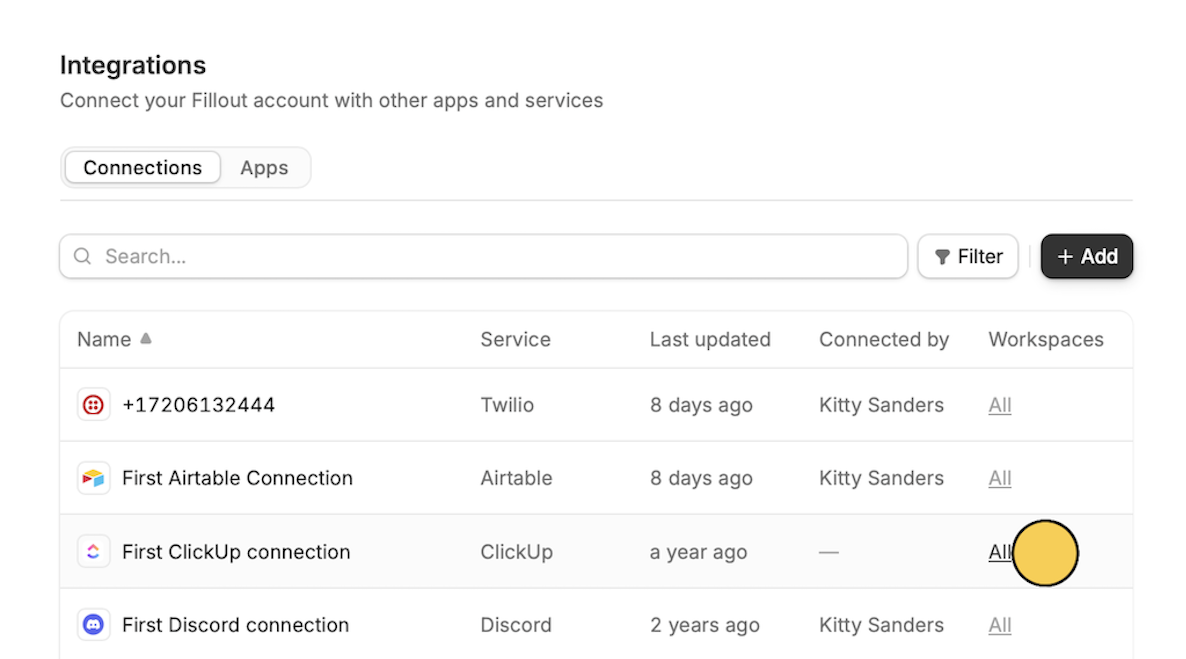
All.Zapier and Make integrations don’t support granular permissions. A workaround is to use the per-form webhook integration to trigger external automations.
2
Add workspace(s)
In the popup, click 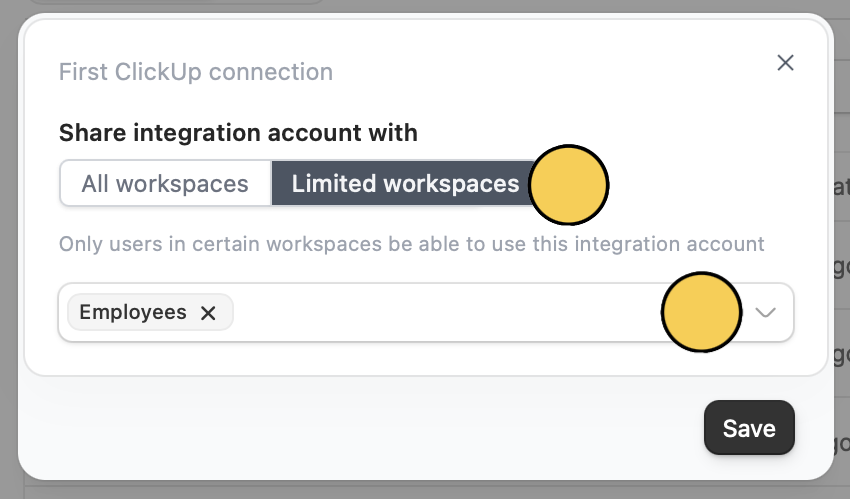
Limited workspaces, then select a workspace from the dropdown. 3
Save changes
Click
Save.Disconnect 3rd party apps
1
Navigate to integrations
From the dashboard, click your
Account name followed by Integrations in the dropdown menu.Only admins can connect 3rd party apps to Fillout. Once connected, make sure only authorized users who should have permission to add webhooks to all forms across all workspaces have access.
2
View apps
Go to 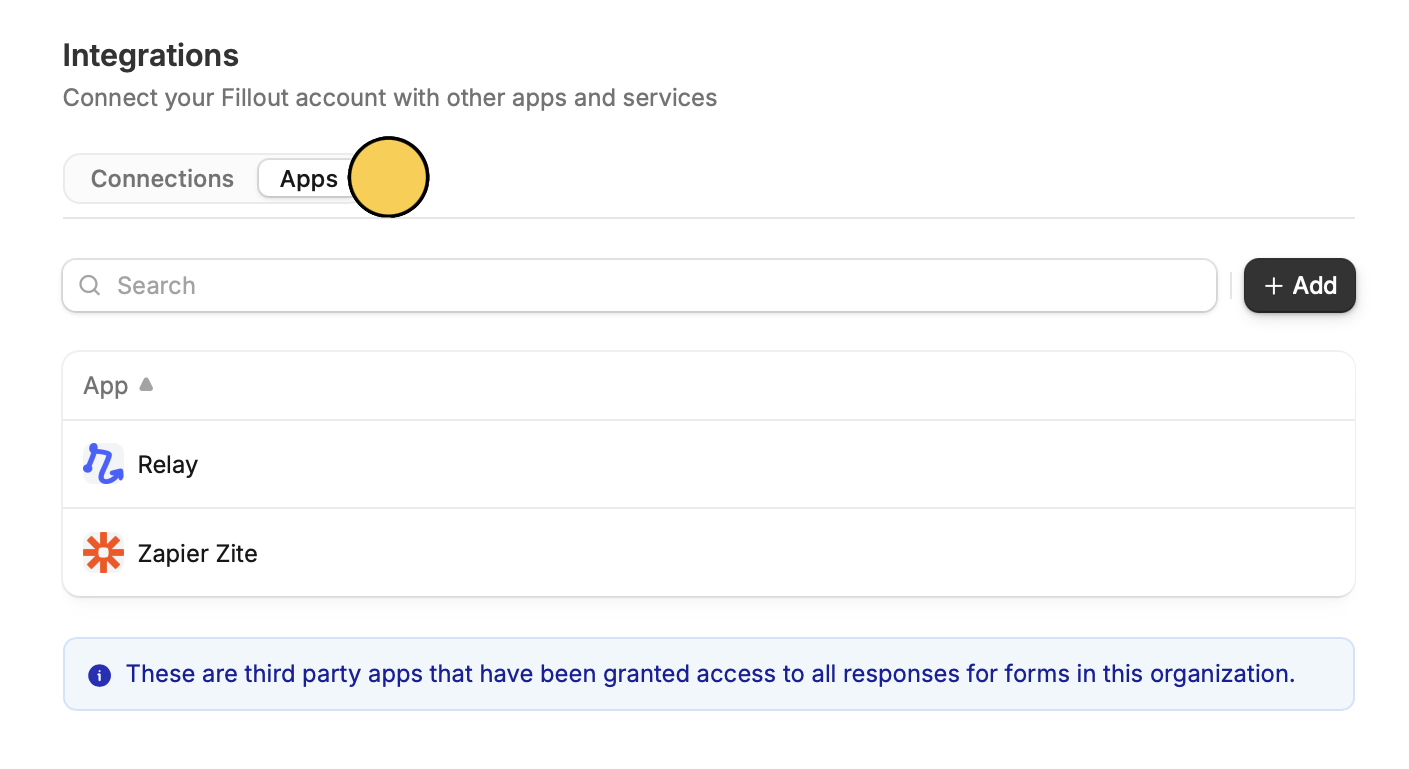
Authorized apps. The list also shows when each app was last used.3
Choose an app
Hover over the app and click 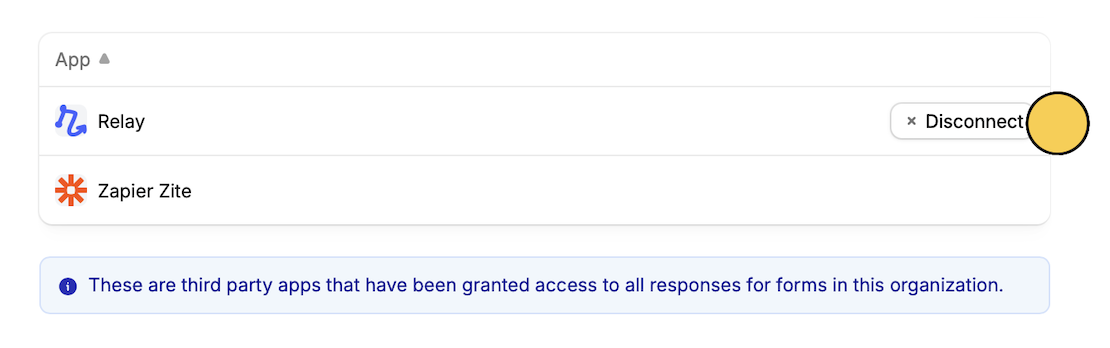
Disconnect.Disconnect all agents.Related article
Granular permissions
Set member access to view only, and manage existing permissions.